Last Updated on May 21, 2025 by Holly Lanier
I’m thrilled to share this free baby ghost amigurumi pattern with you! This pattern has been a favorite of many of you over the past few years, and it’s no wonder! For one thing, he’s adorable, and for another, he’s super quick and easy to make. His small size, combined with lots of step-by-step photos, makes this pattern very beginner-friendly. Plus, crocheting holiday-themed amigurumi is always more fun!
Last year, I designed the jumbo “cuddle-sized” version of this baby ghost amigurumi pattern. Check out the FREE pattern for Scout the Cuddle-Sized Ghost.

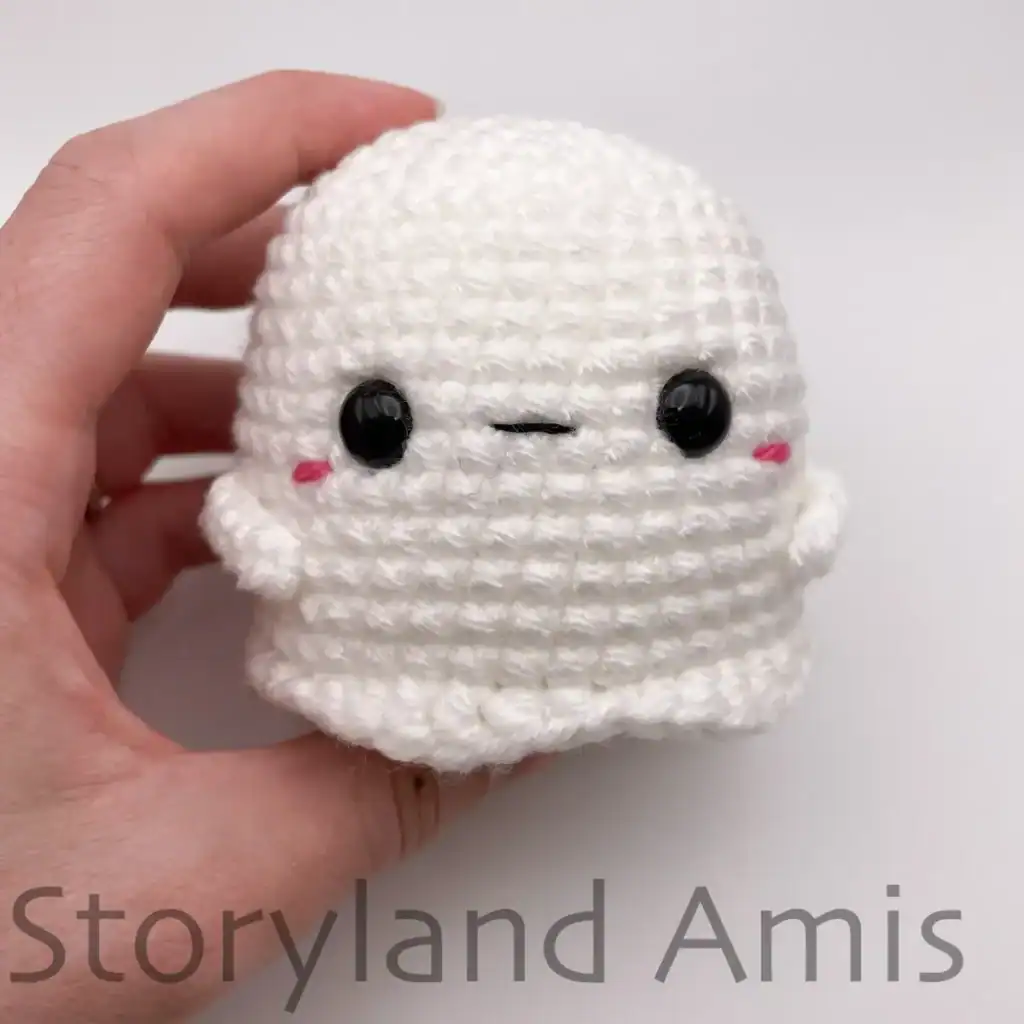
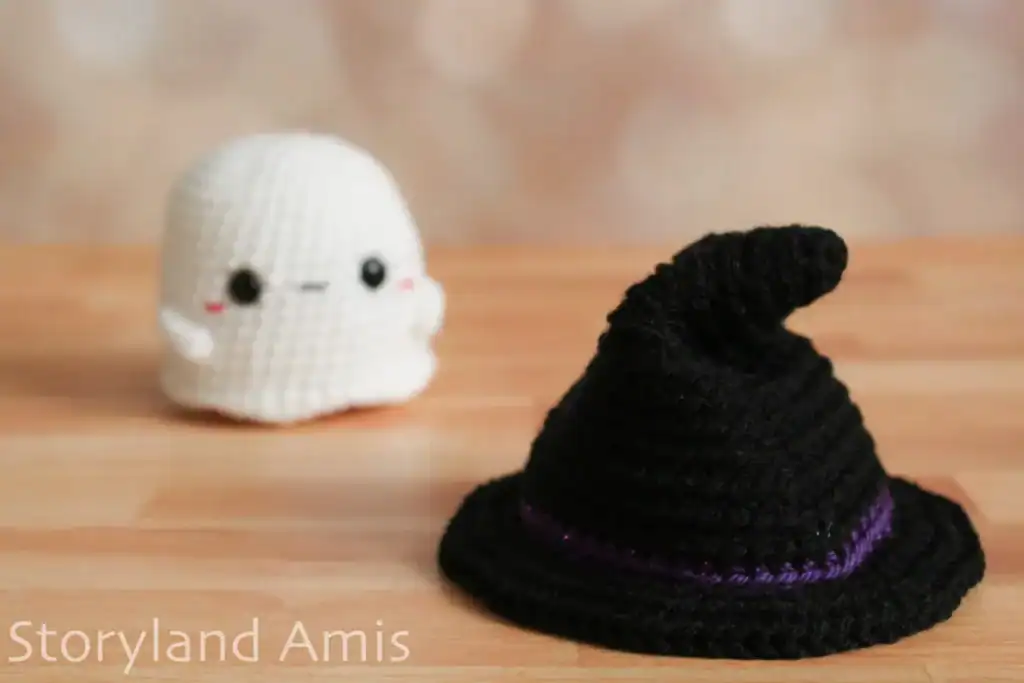
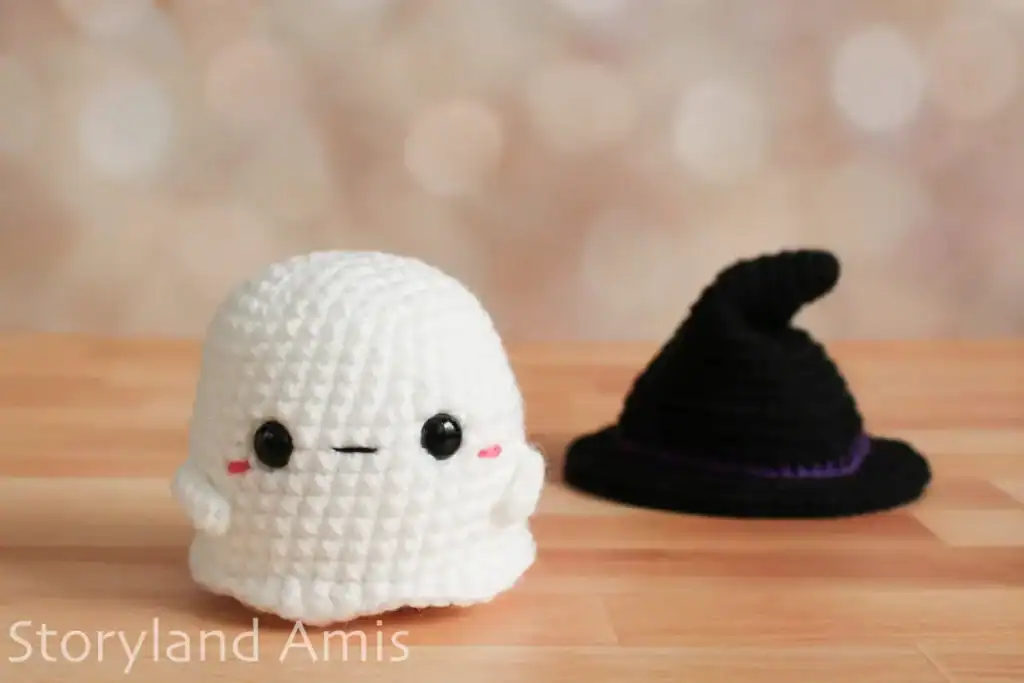
Meet Scout the Baby Ghost! Scout is the tiniest ghost in his family and, therefore, the least intimidating. This is why Scout has decided to wear a large hat. He hopes wearing one will make him look bigger and scarier. However, you and I know that it just makes him look cuter!
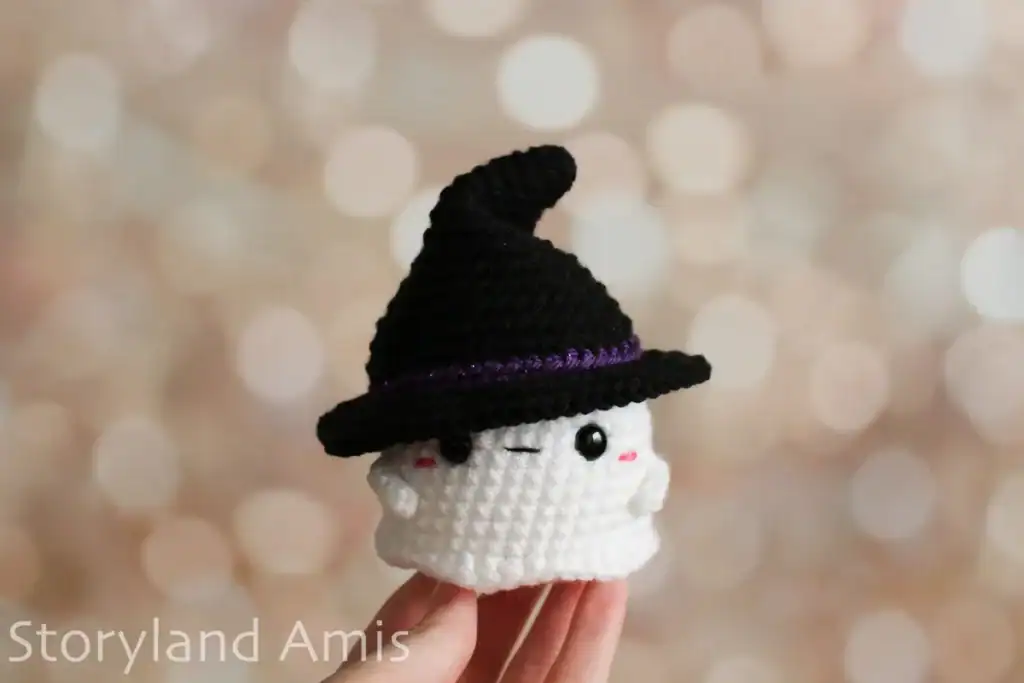
You can purchase a printable, ad-free, beautifully formatted, concise version of this baby ghost crochet pattern in my shop. Otherwise, please keep scrolling down for the free version!
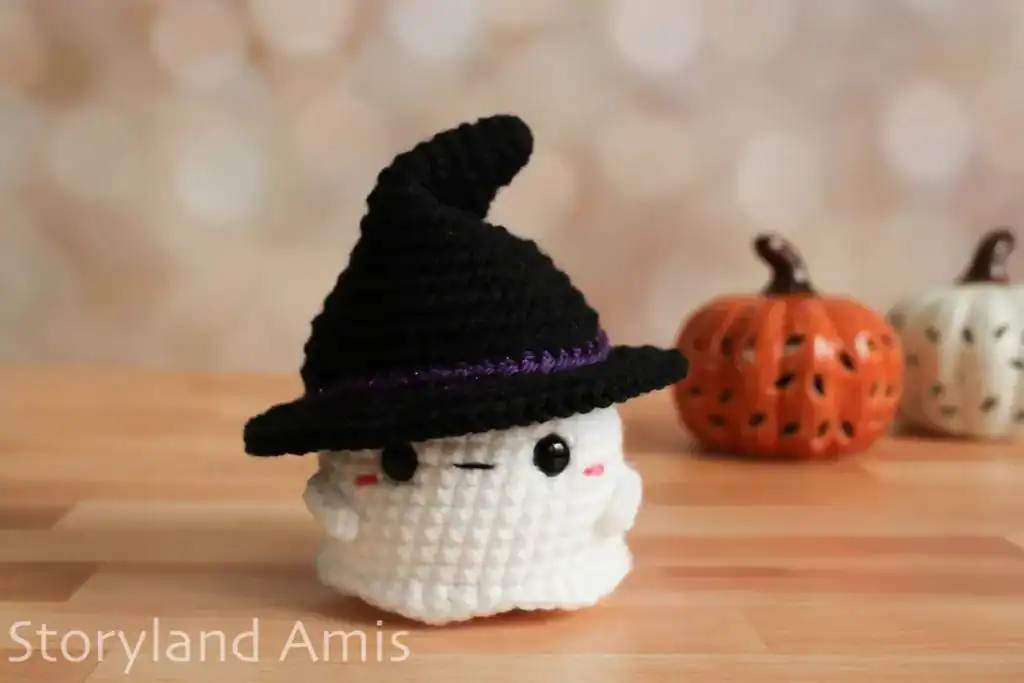
Disclaimer: Some links in this free baby ghost amigurumi pattern may be affiliate links. Affiliate links are a way for me to make a small commission on certain products at no extra cost to you!
Materials You Need to Crochet This Baby Ghost
- Worsted-weight yarn (4-ply) in white, black, and a small amount of purple and pink. (The U.K. equivalent is Aran, and AUS/NZ is 8 ply.) For my white and black, I used Hobby Lobby’s, I Love This Yarn in the colors “white” and “black“. For the sparkly purple hat band, I used Caron Simply Soft in the color “purple sparkle”.
- G (4 mm) crochet hook
- 9 mm black safety eyes
- Fiberfill (or your stuffing of choice)
- Bent tip tapestry needle
- Scissors
- Stitch marker
- Straight pins
- Black embroidery floss
Abbreviation Key
Abbreviations are in U.S. terms.
- sc – single crochet
- st/sts – stitch(es)
- sl st – slip stitch
- dec – decrease (join the next 2 stitches together)
- inc – increase (2 single crochet in the next stitch)
- hdc – half double crochet
- dc – double crochet
- BLO – back loops only
- FLO – front loops only
- R1 – round 1
- rep – repeat
- ** – repeat the group of instructions between the asterisks the number of times indicated.
Note: All rounds are worked continuously (that is, vs. joined rounds.)
The finished size is approximately 5 in (12.5 cm) tall with the hat on and 2.75 in (9.5 cm) without the hat. (Please be aware that your personal gauge, tension, hook size, and the brand of yarn you decide to use will all impact the finished size.)
The pattern and images in this post are the sole property of Storyland Amis. This written pattern is for personal use only. Please do not share, sell, or redistribute it in whole or part.
You MAY sell the finished product, but please credit Storyland Amis as the designer. If you sell your finished items online, I would appreciate it if you could link them to my blog! You may not mass-produce items made from this pattern. Thank you for your understanding and respect.
Important Additional Info
Starting round: When starting my crochet pieces in the round, I always use the “ch 2 method.” That is perfectly fine if you prefer to start your pieces using the magic circle/ring instead. These two methods are interchangeable, and the end result will be the same regardless of your choice. Watch this short video to learn how to make the “ch 2 method”.
Right vs. wrong side: When working in the round, I always crochet with the “right” side of the stitches facing out. Watch my short video to see the difference between the “right” and “wrong” side of crochet stitches.
Yarn under vs. yarn over: I always yarn under (YU) instead of yarn over (YO) for all my amigurumi. Doing YO might make your amigurumi slightly larger than mine, so keep that in mind if you prefer YO. Watch my video on the differences between yarn under and yarn over.
Sewing pieces together: I sew all my pieces together using the whipstitch unless otherwise specified.
Stuffing: Check out my short video on how to stuff pieces properly here.
Color changes: Insert hook into last st of round or section with old color, yarn over & pull hook through st. Take your new color of yarn, yarn over & pull hook through remaining 2 loops on hook. Now you’re ready to start the new round or section. Check out my video on color changes here.
Body (using white yarn)
R1: ch 2, starting in 2nd ch from hook, sc 6 (6 sts) (you can use the magic circle/ring if you prefer as it won’t make a difference in the end. Watch this video to see how to start crocheting in the round using the “ch 2 method”.)
R2: *inc* rep 6 times (12 sts)
R3: *sc 1, inc* rep 6 times (18 sts)
R4: *sc 2, inc* rep 6 times (24 sts)
R5: *sc 3, inc* rep 6 times (30 sts)
R6: *sc 4, inc* rep 6 times (36 sts)
R7-10: sc in all 36 sts (4 rounds total at 36 sts each)
R11: *sc 5, inc* rep 6 times (42 sts)
R12-18: sc in all 42 sts (7 rounds total at 42 sts each)
Now we’ll crochet the fringe
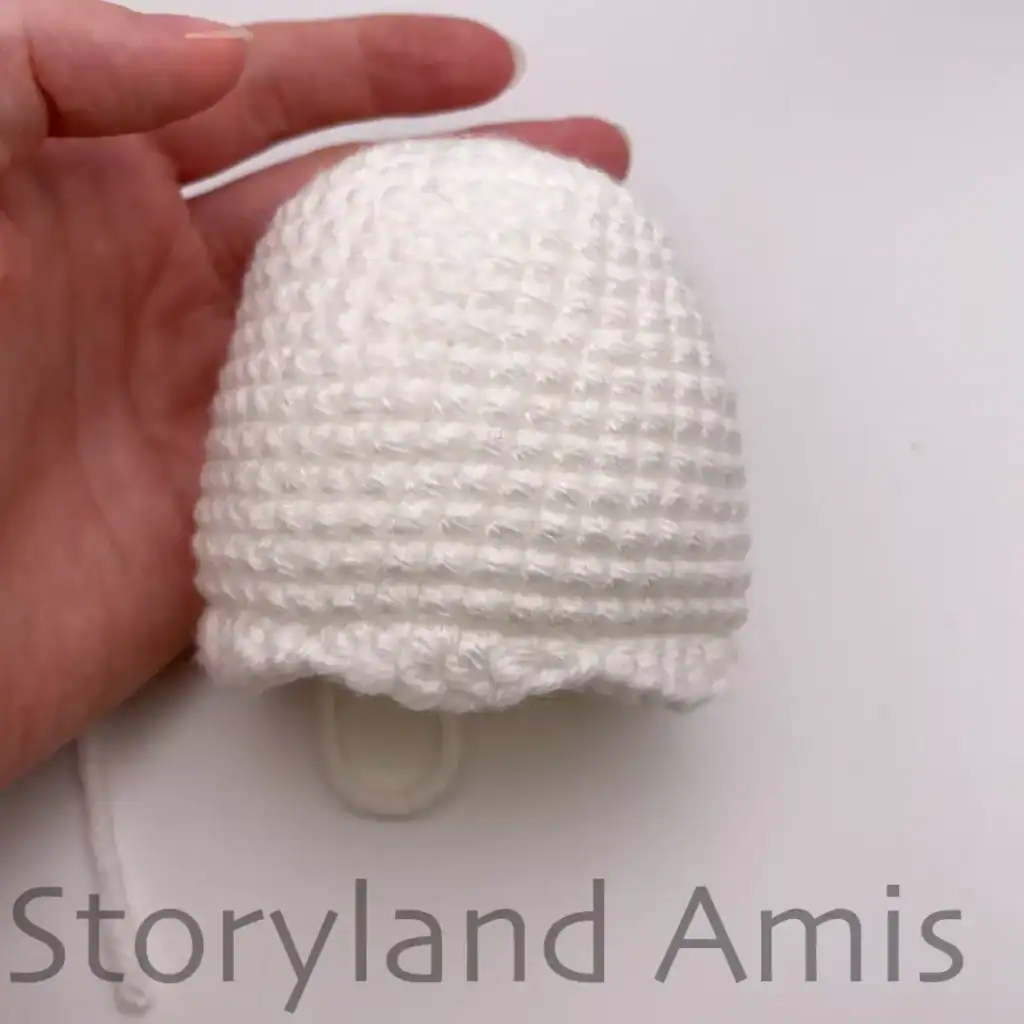
R19: in FLO (front loops only) *sl st 1, sc 1, hdc 1, dc 2, hdc 1, sc 1* rep 6 times (42 sts) (see pics. #1, #2, & #3).
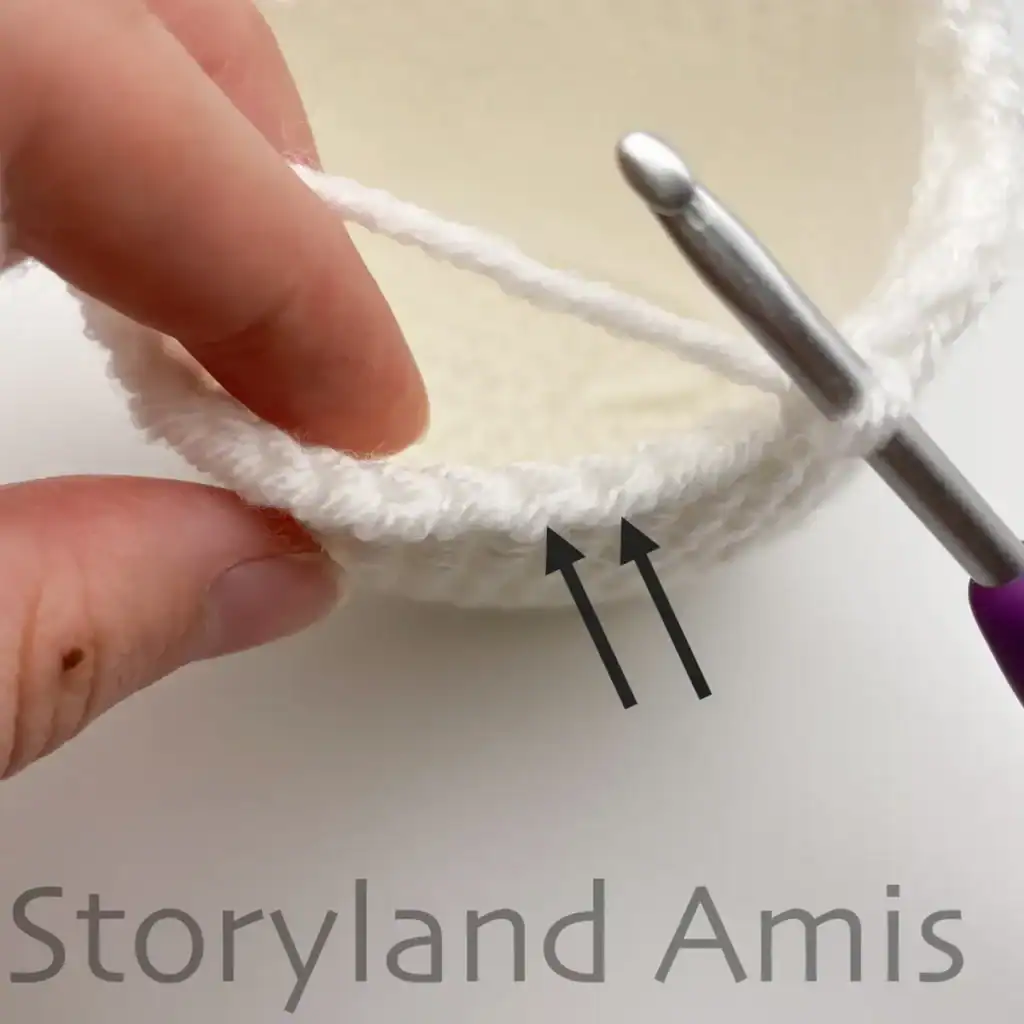
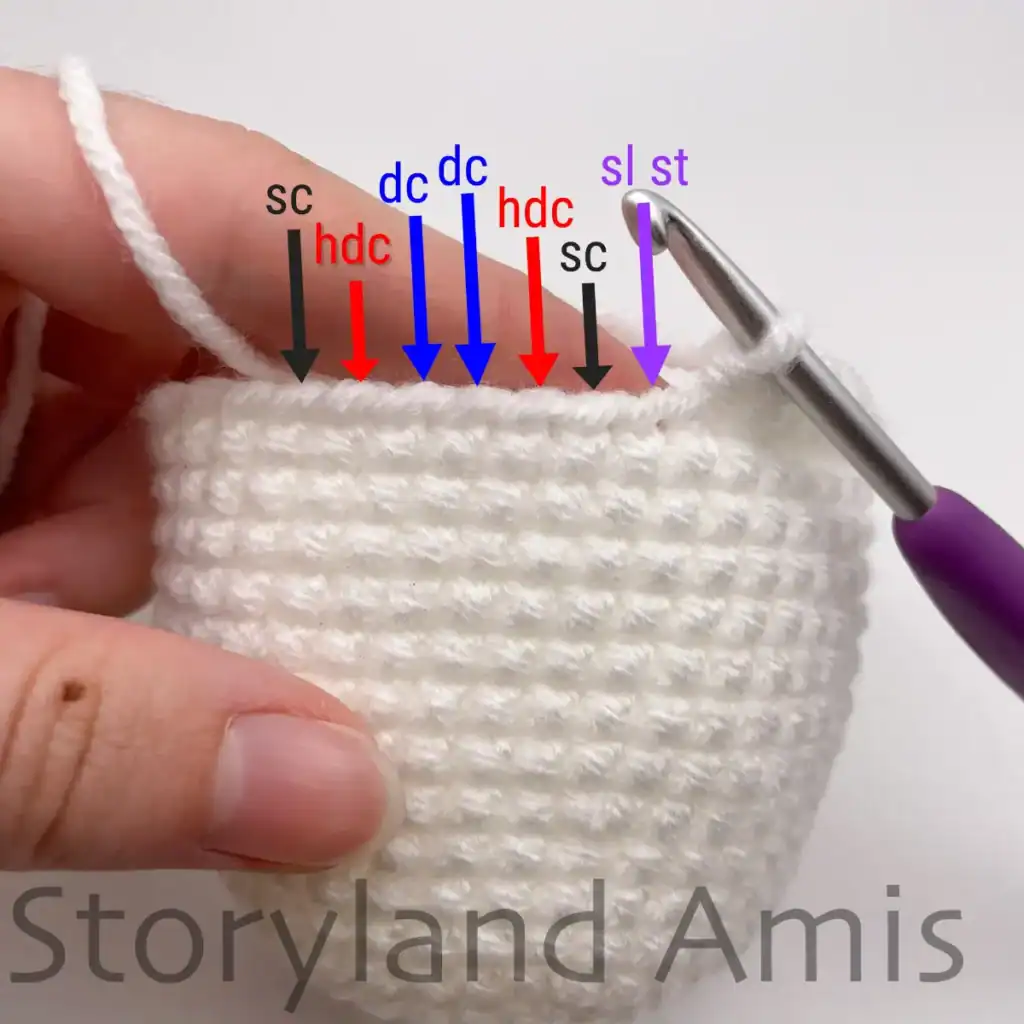
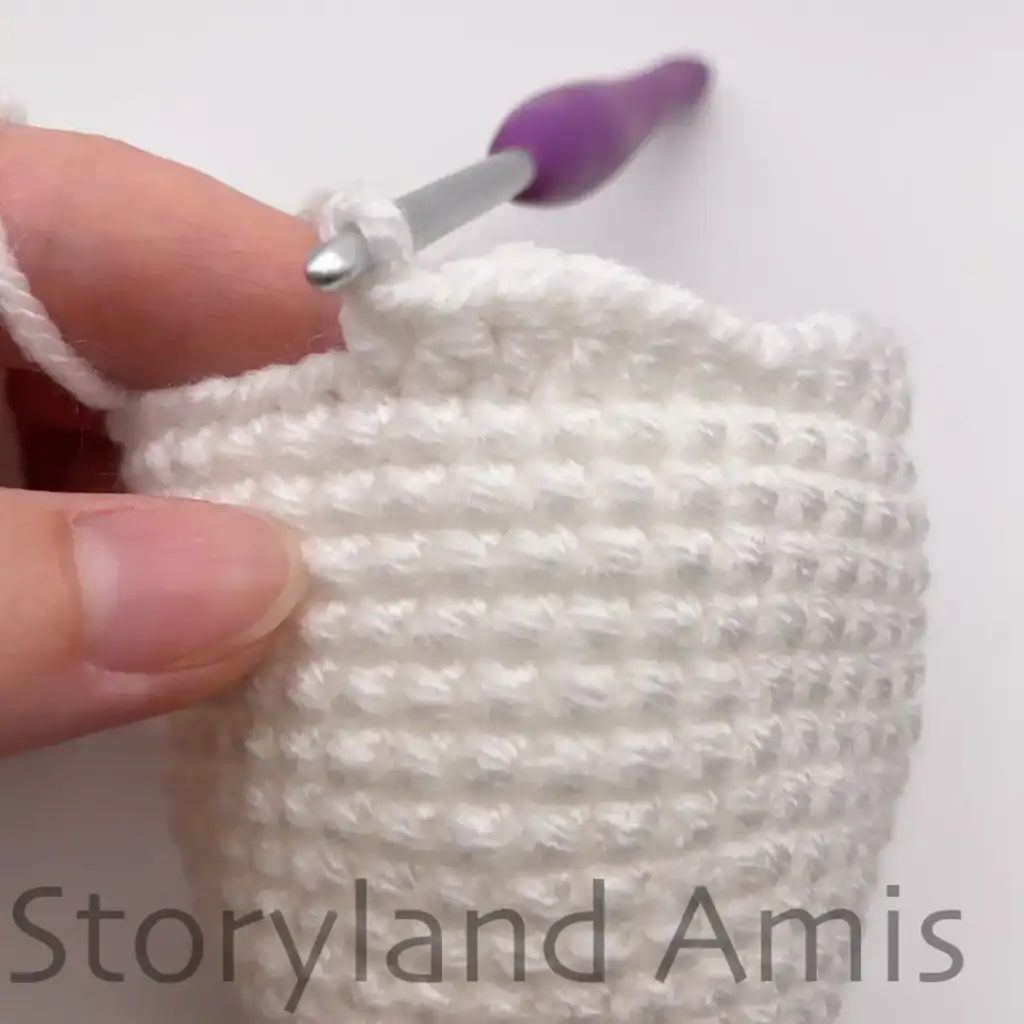
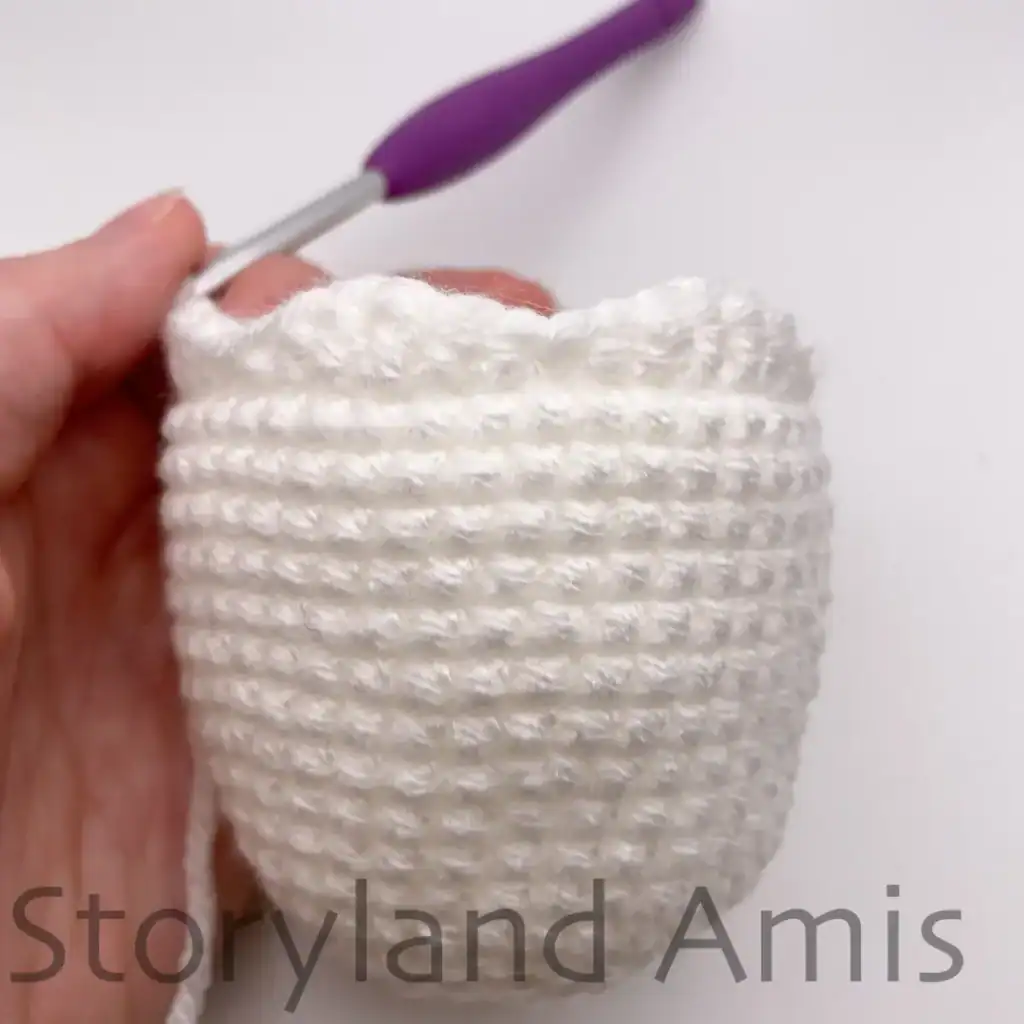
Finish off neatly using the invisible finish technique. No need to leave a long tail (see pic. #4).
Adding the Face Details
Insert your 9mm eyes between R12 & 13 of the head spaced 7 sts apart (Hint: insert the 1st eye. Count 7 sts from the hole where you inserted the 1st eye and insert the 2nd eye. See pic. #5.)
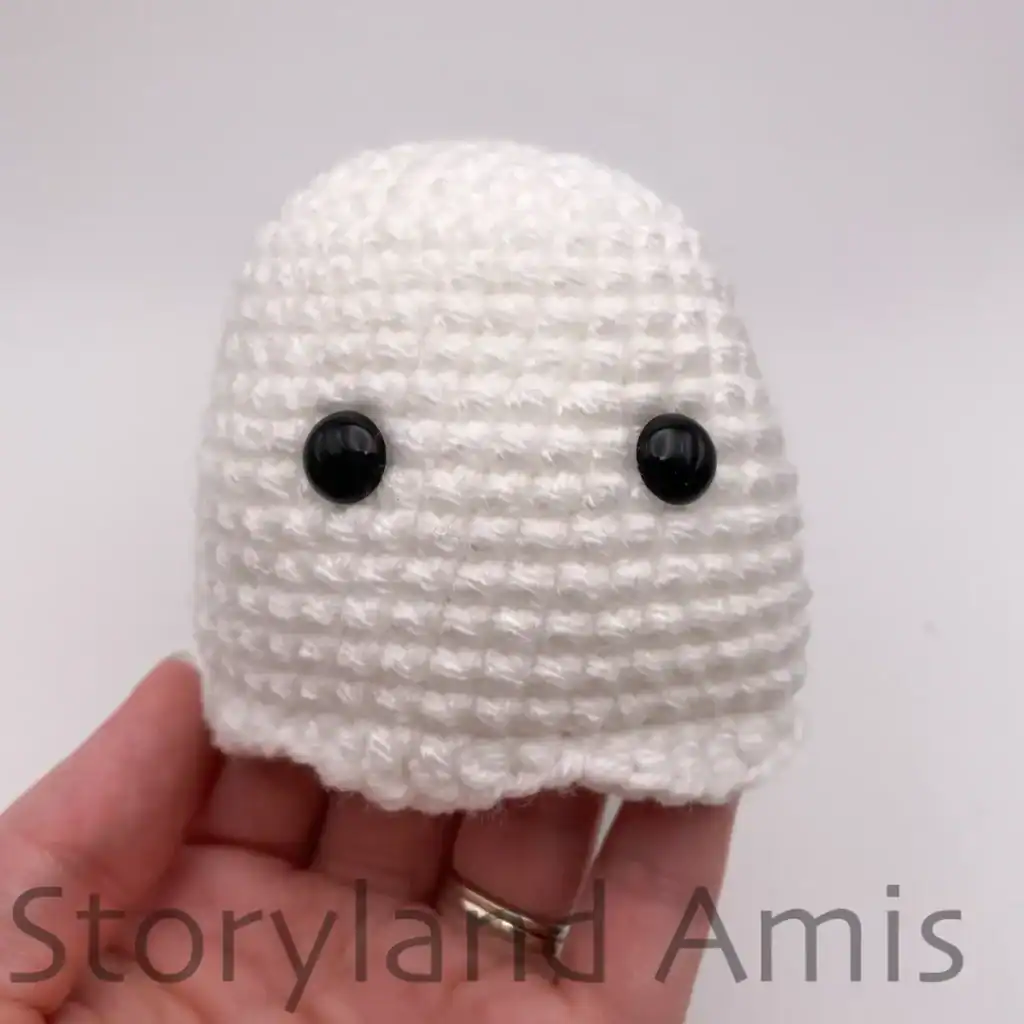
Take some black embroidery floss and embroider a straight stitch mouth right between his eyes about 2 sc sts wide (see pic. #6).
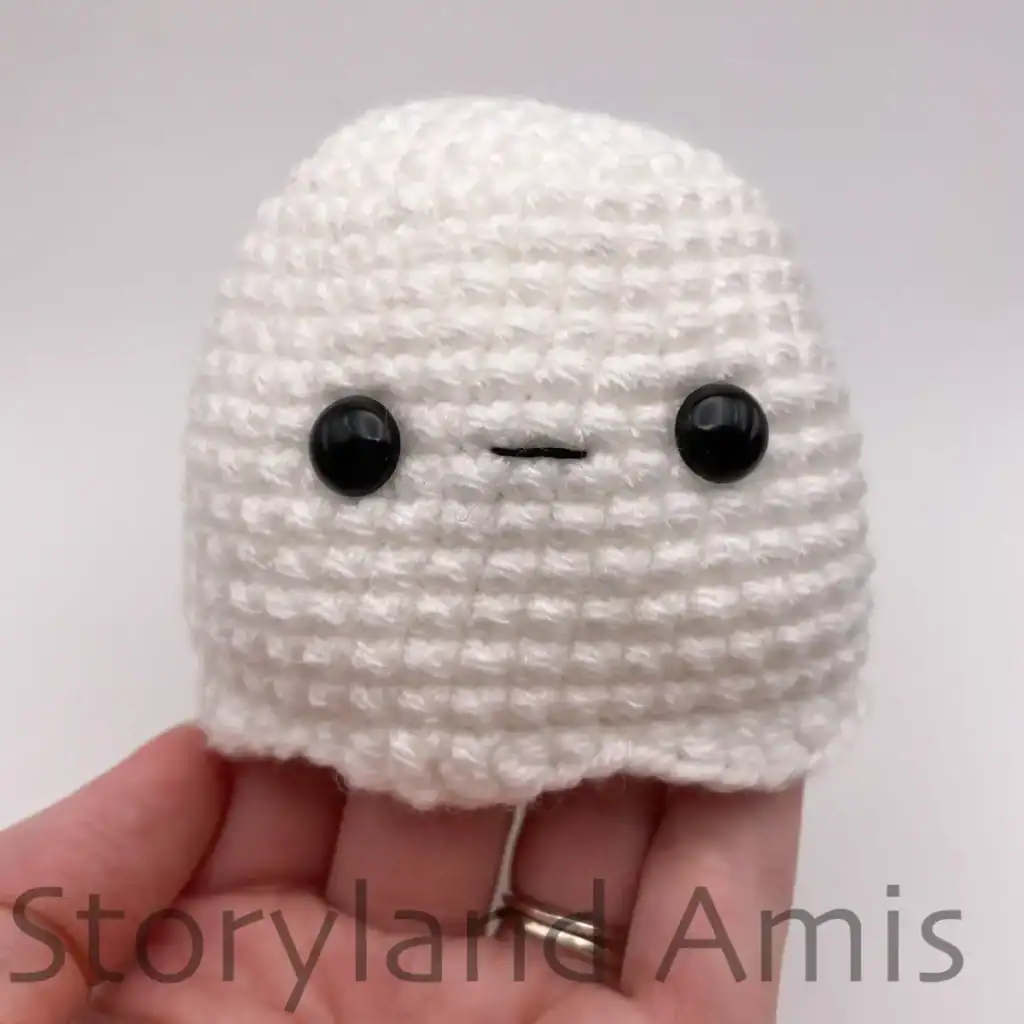
Finally, take some pink yarn and embroider some little cheeks on either side of the head. Each cheek should be about one sc st from the eyes, about 1 sc st wide, and embroidered between R13 & 14 of the head (see pic. #7).

Bottom piece of body (using white yarn)
R1: ch 2, starting in 2nd ch from hook, sc 6 (6 sts)
R2: *inc* rep 6 times (12 sts)
R3: *sc 1, inc* rep 6 times (18 sts)
R4: *sc 2, inc* rep 6 times (24 sts)
R5: *sc 3, inc* rep 6 times (30 sts)
R6: *sc 4, inc* rep 6 times (36 sts)
R7: *sc 5, inc* rep 6 times (42 sts)
Finish off leaving a long tail for sewing. We will now join the bottom piece and body of the ghost by sewing them together. Thread your tapestry needle with the tail we left. Going through both loops of the bottom piece and the back loops from R19 of the body, whipstitch them together (see pics. #8 & #9).
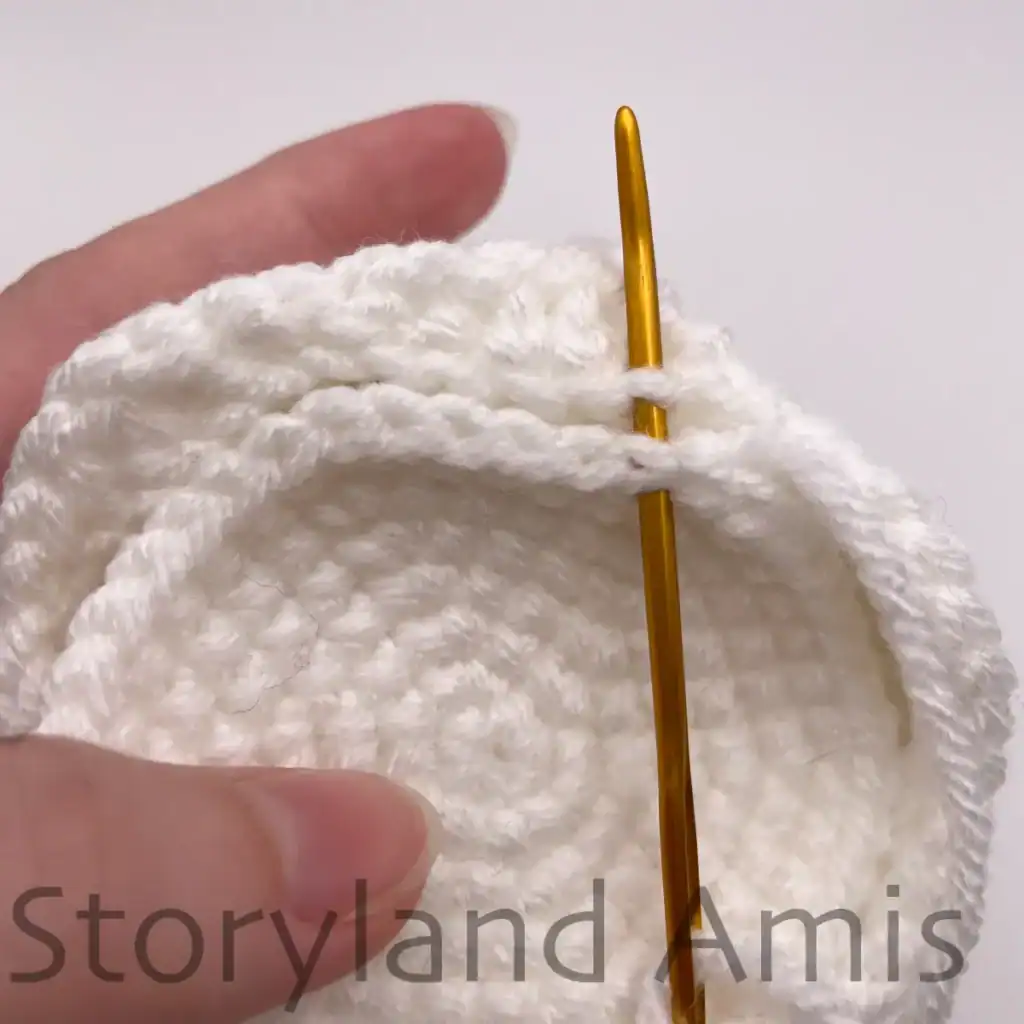
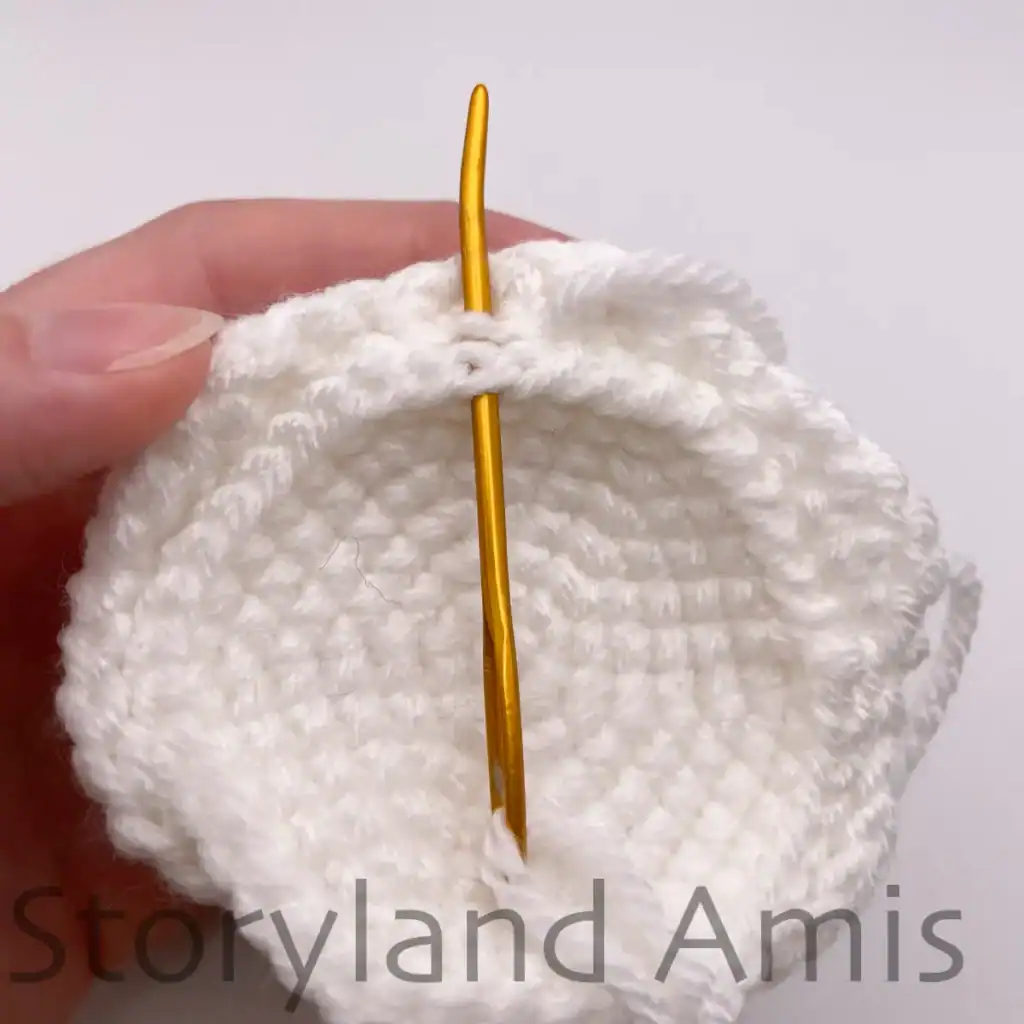
They should align perfectly since there are 42 sts around on both top and bottom. Start to stuff the ghost as you close it up and continue to stuff until it’s sewn shut (see pic. #10). Do not overstuff the bottom as we want it to remain somewhat flat and not bulge out.
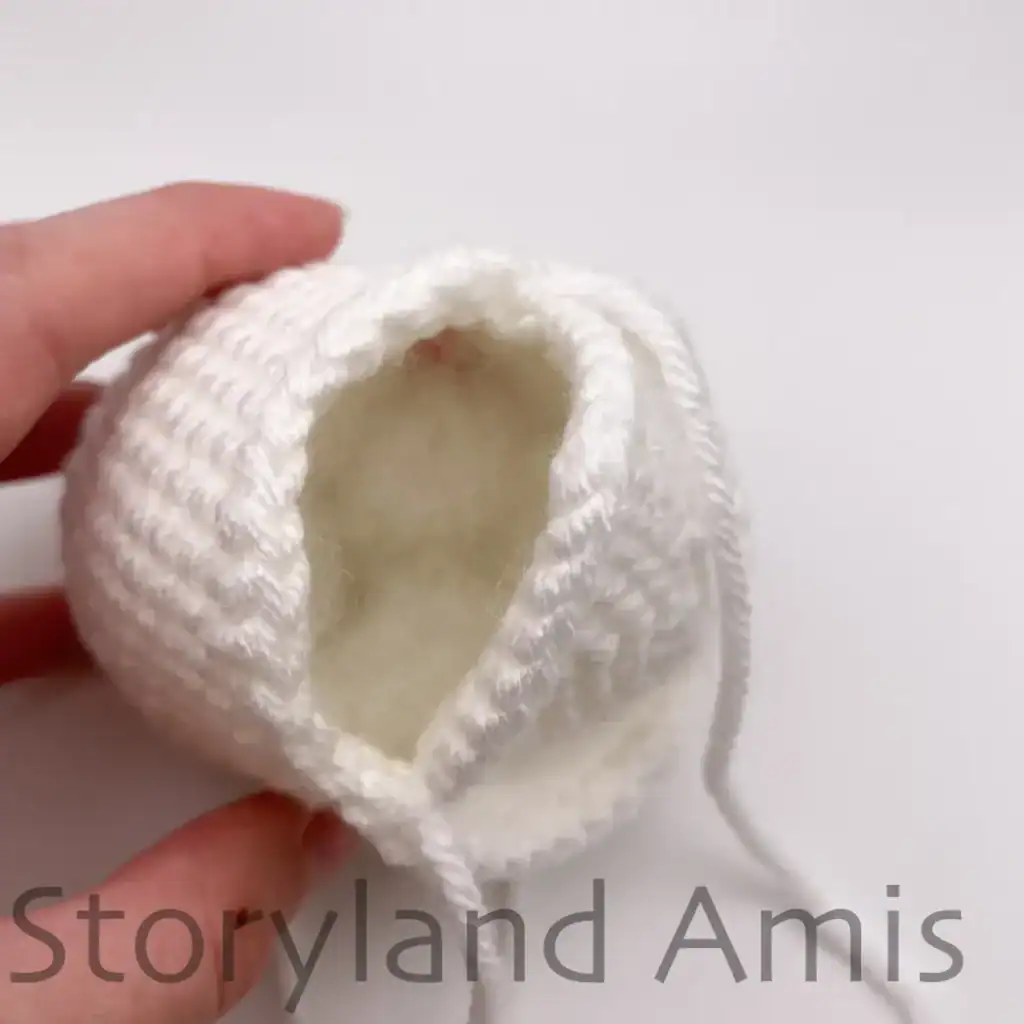
Arms (make 2 using white yarn)
When you make your slip knot, start with a tail long enough for sewing later (see pic. #11).
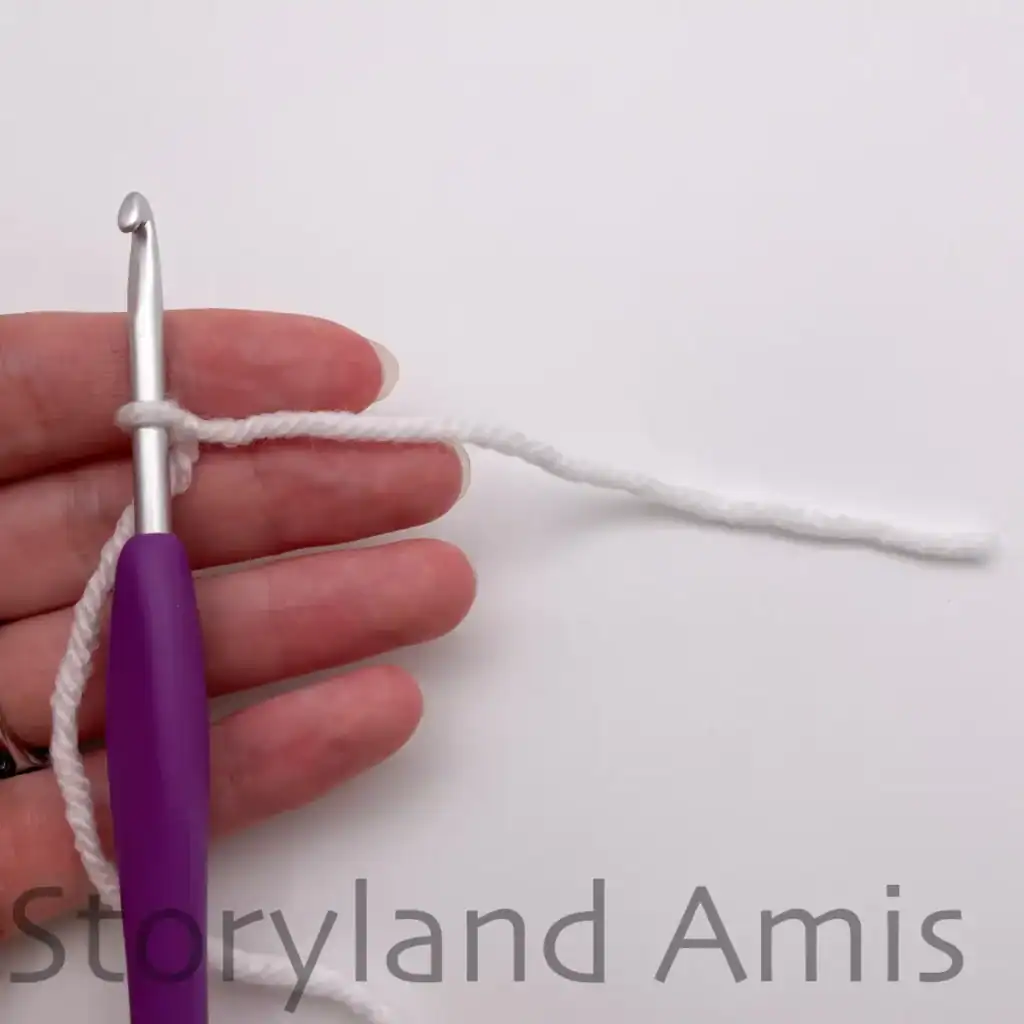
R1: ch 5, starting in 2nd ch from hook, sl st 4 (see pic. #12)

Finish off leaving a long tail for sewing. Place the arms on either side of the body and pin them in place using straight pins to make sure you sew them on straight. You’ll want to sew the arms to R14 & 15 of the body spaced about 2 sc sts away from the cheeks. Take the top yarn tail and sew it to R14 of the body (see 1st image in pic. #13). Then take the bottom yarn tail and sew it to R15 of the body (see 2nd image in pic. #13). Now knot the two yarn tails together to secure them and weave the remaining tails into the body (see last 2 images in pic. #13).

You can now leave the arms as is, or, if they are not lying flat against the body, take some fabric glue (I use Tacky glue), and glue them down. You could also sew them down using your yarn tails. See pics. #14 & #15 for completed ghost.

Hat (starting in black yarn)
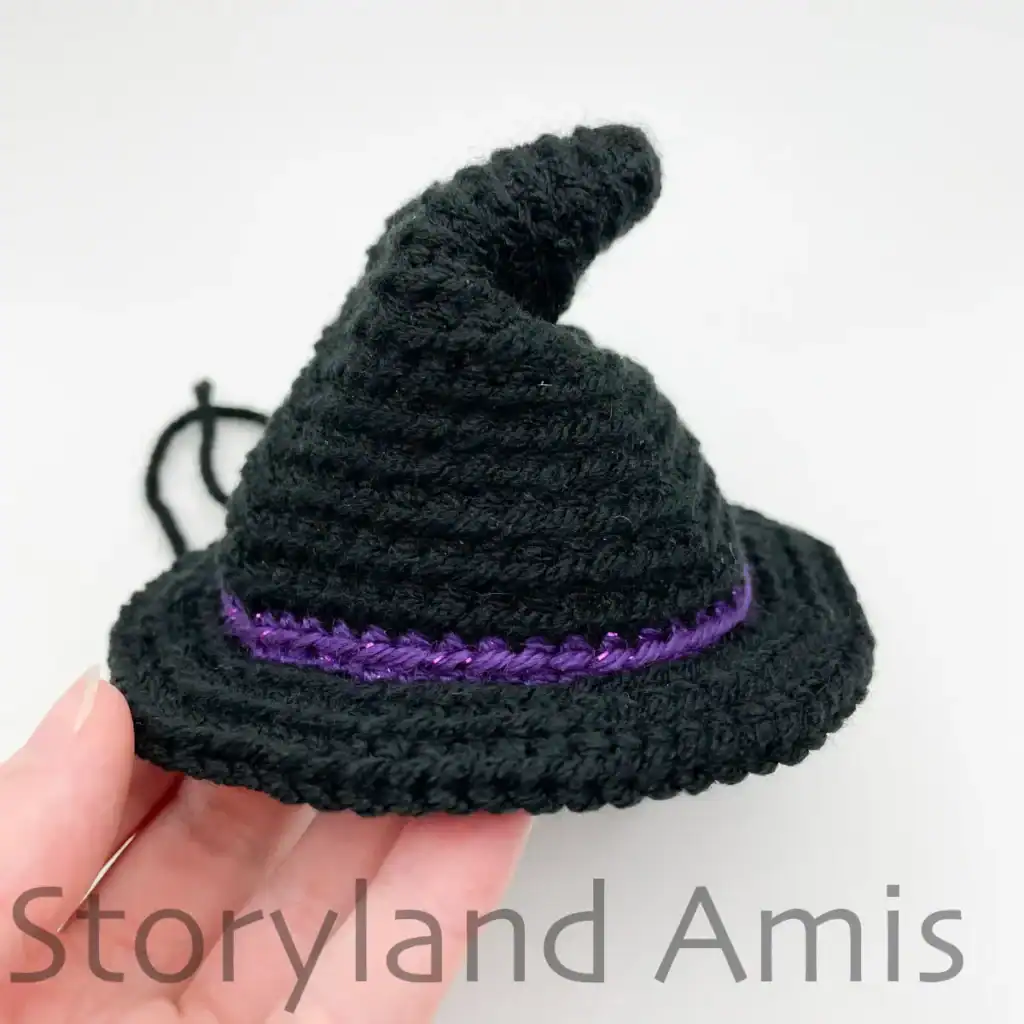
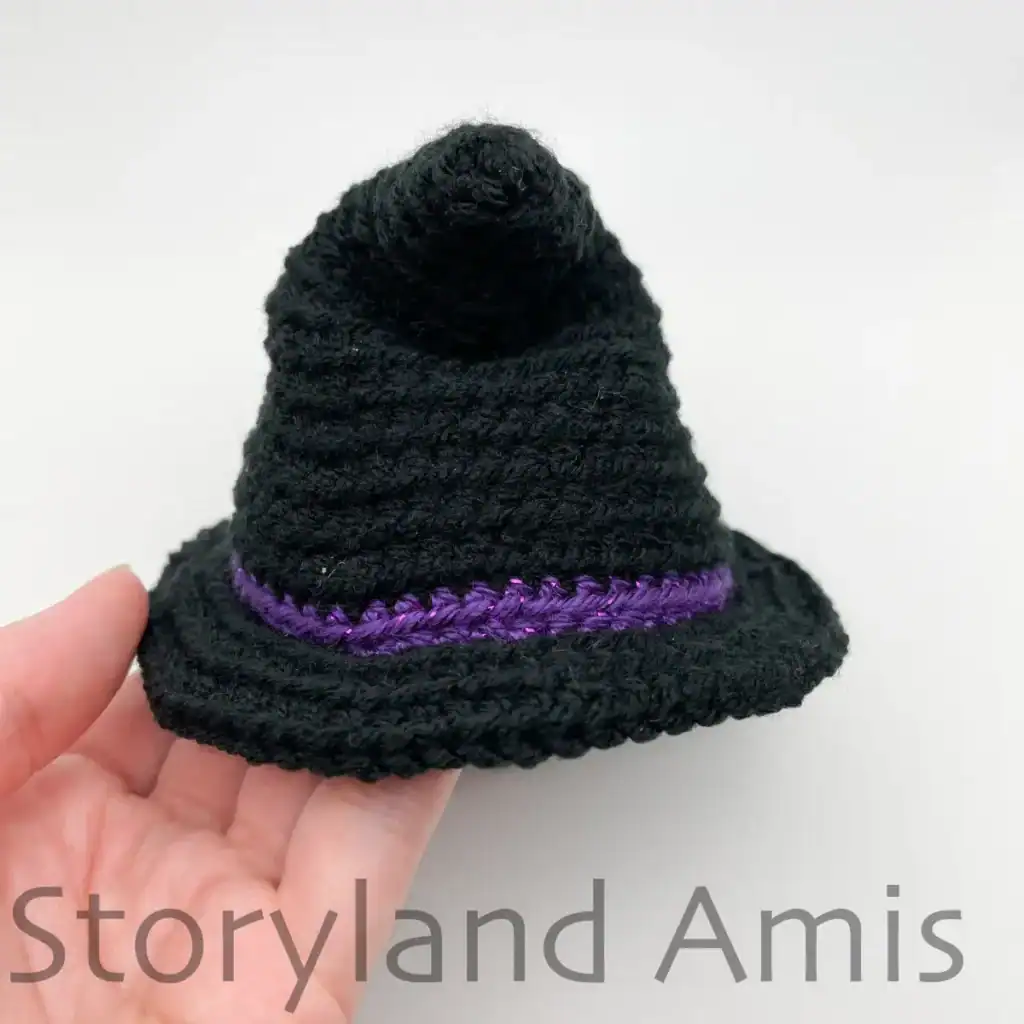
I crocheted the entire hat in the BLO (back loops only) except for R18, which is done in the FLO (front loops only). Doing this gave me a slightly looser fabric, helping me shape the hat and give it that droopy, oversized look. Watch this video to see the difference between crocheting in both loops, back loops, and front loops.
R1: BLO ch 2, 6 sc in 2nd ch from hook
R2: BLO *sc 1, inc* rep 3 times (9 sts)
R3: BLO *sc 2, inc* rep 3 times (12 sts)
R4: BLO *sc 3, inc* rep 3 times (15 sts)
R5: BLO *sc 4, inc* rep 3 times (18 sts)
R6: BLO *sc 5, inc* rep 3 times (21 sts)
R7: BLO *sc 6, inc* rep 3 times (24 sts)
R8: BLO *sc 7, inc* rep 3 times (27 sts)
R9: BLO *sc 8, inc* rep 3 times (30 sts)
R10: BLO *sc 9, inc* rep 3 times (33 sts)
R11: BLO *sc 10, inc* rep 3 times (36 sts)
R12: BLO *sc 11, inc* rep 3 times (39 sts)
R13: BLO *sc 12, inc* rep 3 times (42 sts)
R14: BLO *sc 13, inc* rep 3 times (45 sts)
R15: BLO *sc 14, inc* rep 3 times (48 sts)
Switch to purple yarn (watch this video for help with color changes.)
R16-17: BLO sc in all 48 sts (2 rounds total at 48 sts each)
Crocheting the Hat Brim
Switch to black yarn
R18: in FLO (front loops only) *sc 3, inc* rep 12 times (60 sts) (see pic. #16)
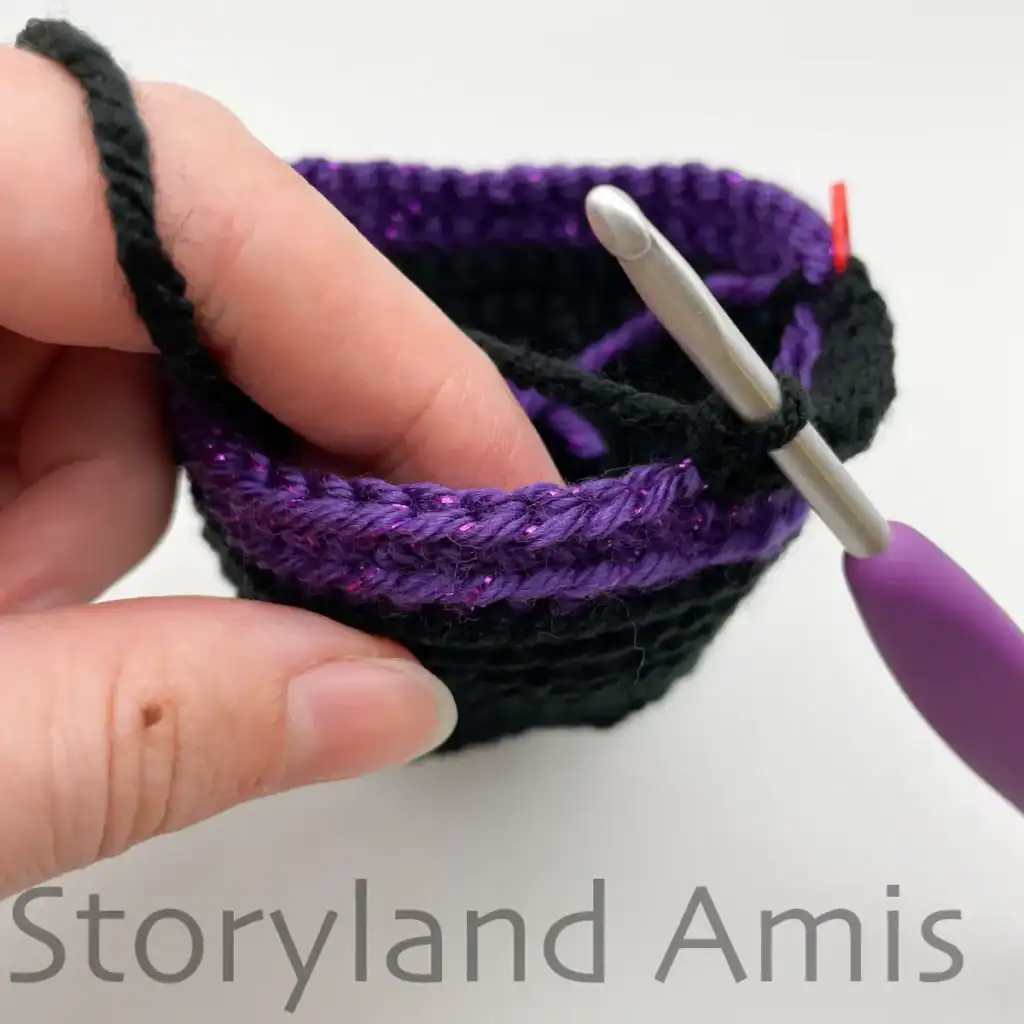
Resume crocheting in BLO for the rest of the hat
R19: BLO *sc 4, inc* rep 12 times (72 Sts)
R20: BLO sc in all 72 sts (72 Sts) (see pic. #17)
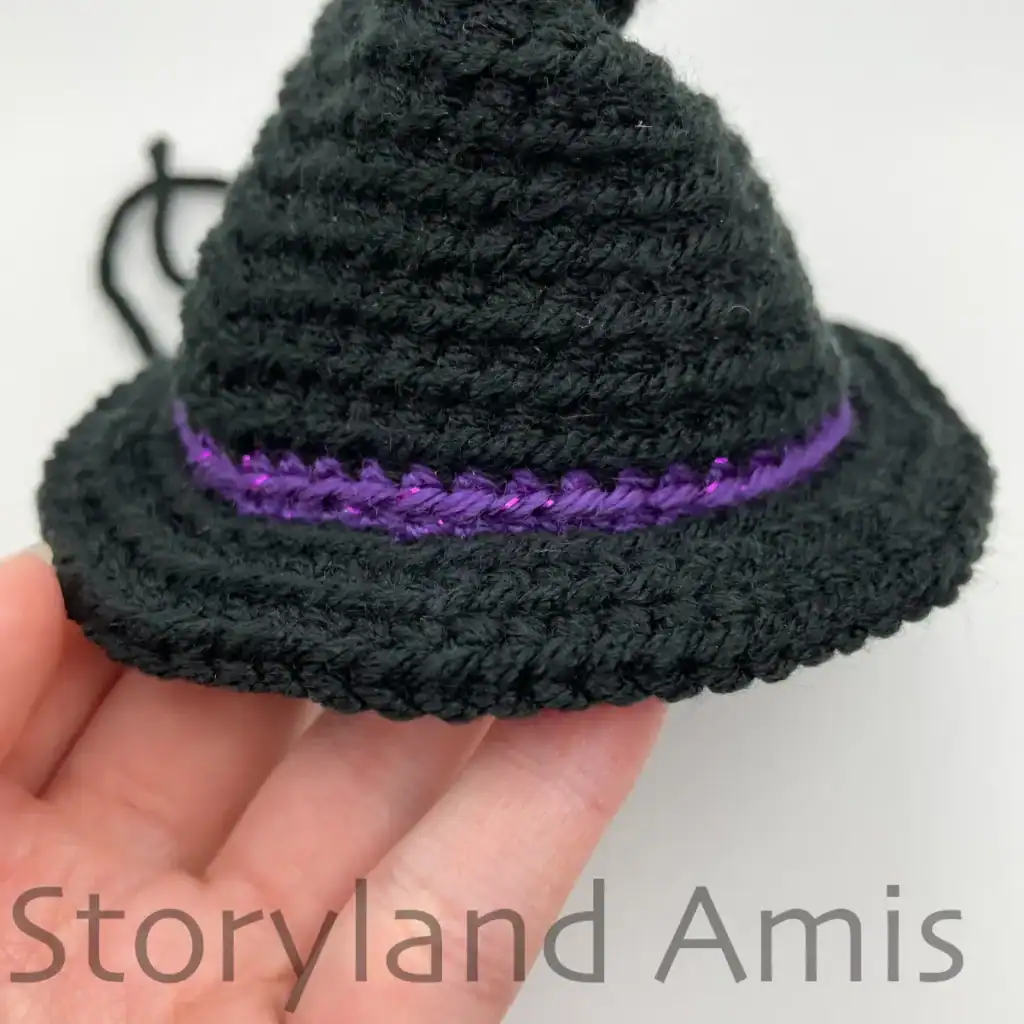
Finish off neatly using the invisible finish technique. Leave a long tail for sewing. If you wish to sew the hat to your ghost’s head, then do so now with the long tail we left. Otherwise, neatly weave in all ends. You can leave the hat pointy or shape it however you like by smooshing it in like I did (see pics. #18 & #19). Experiment with what shape you like best!
Congratulations—you’re done! I hope you enjoyed making this free baby ghost amigurumi pattern. I would love to see pictures of your finished project!
If you make this free baby ghost amigurumi pattern, share your creations with me via social media or email me directly! You can find me on Instagram (@storyland_amis) and Facebook (Storyland Amis).
Thanks for stopping by! Until next time, then – stay crafty!

I keep seeing free,free but when I try to get it there is a cost
Hi, Barb! The full free pattern is in this post. There is no cost. 🙂 When you click on the post just keep scrolling down until you see the instructions and tutorial photos. If you are down in the comments, then scroll up. 🙂
Directions are exceptional !! Thank you for the explicit details and
tutorials. Love the minis…fun for little “just because” gifts for family and friends!!!
I’m so glad you enjoyed this pattern, Yvonne! Thank you for sharing!