
Last Updated on October 3, 2026 by Holly Lanier
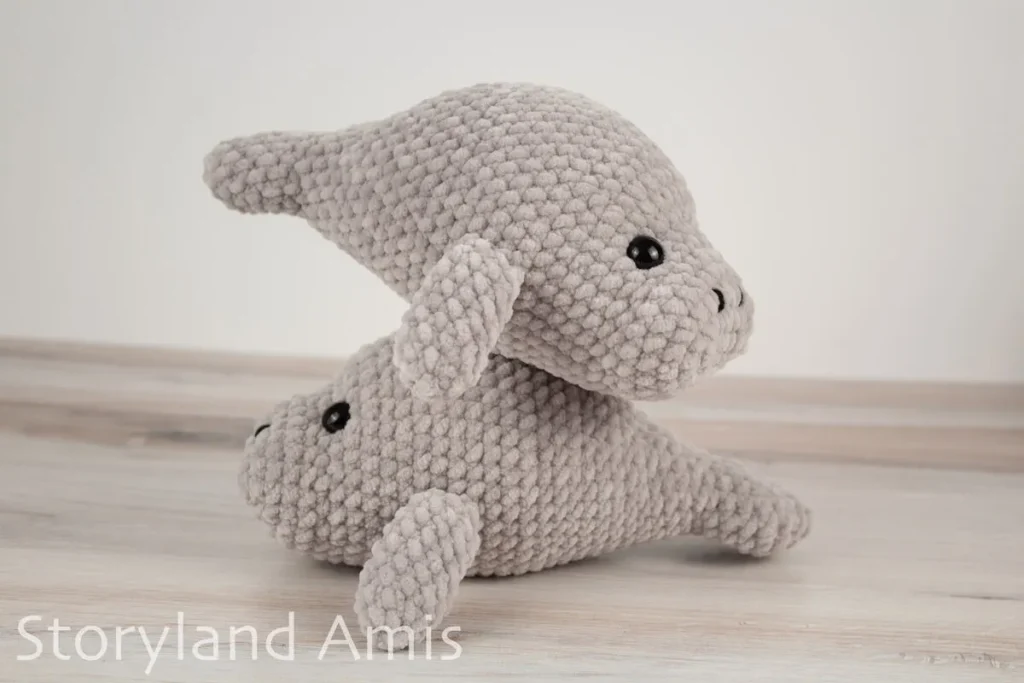
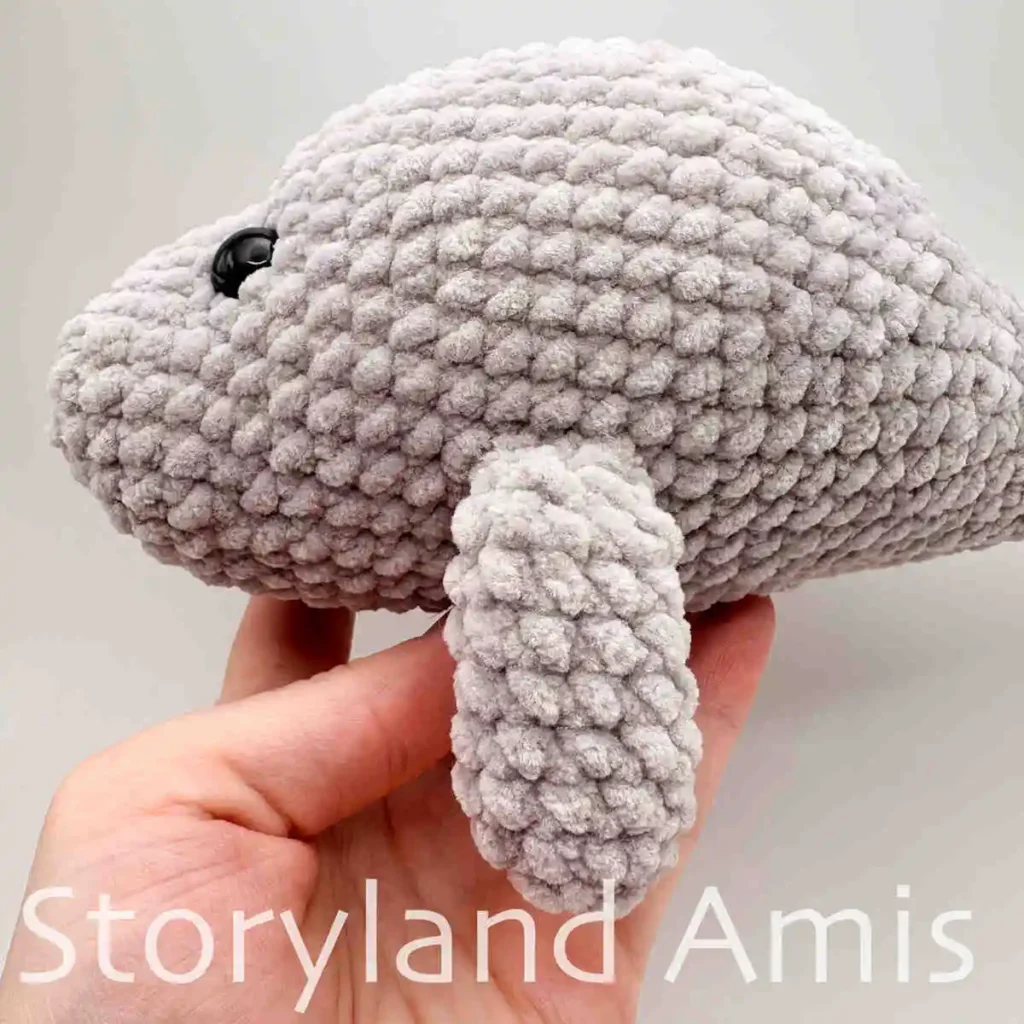
I’m so very excited to be sharing another sea creature design with you, made with plush yarn! This manatee design came about quite by accident when I was trying to design a shark, and it turned into a manatee. A very happy accident because now I get to share this free plush manatee amigurumi pattern with you!
This pattern is extremely beginner-friendly and low-sew! This pattern works up in an hour or less, making it a great quick project when you are short on time.
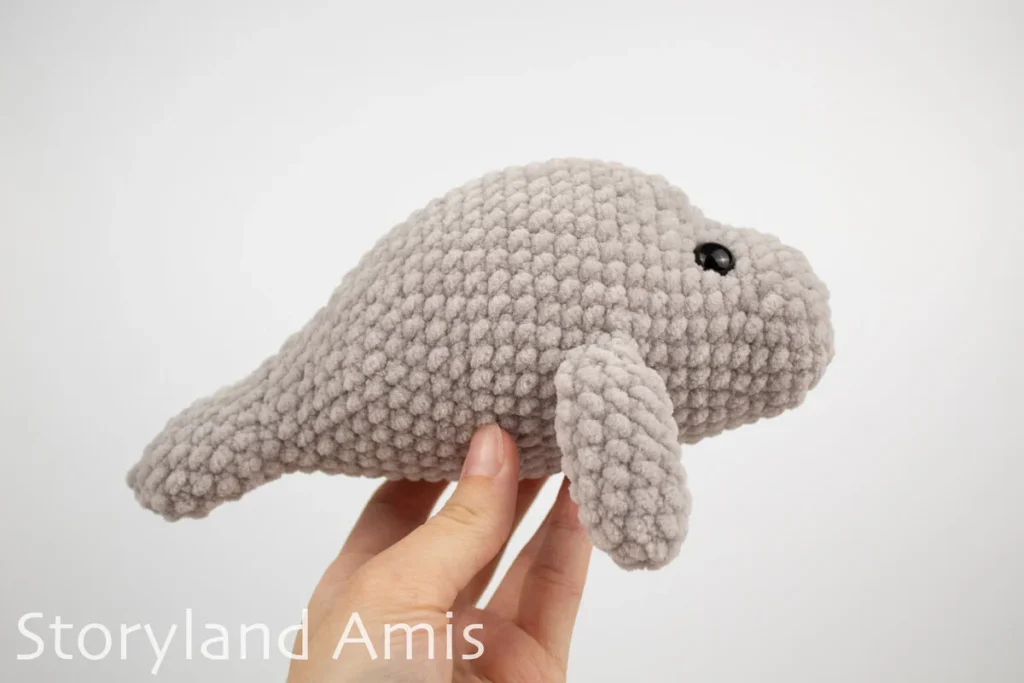
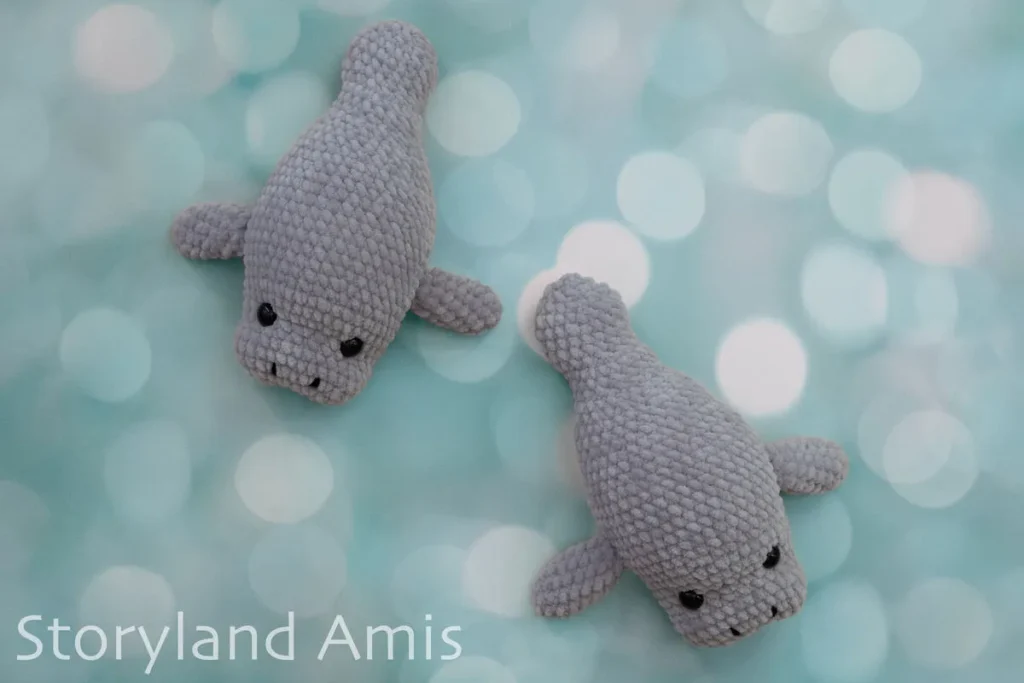
Meet Marty the Manatee! This plump “sea cow” pretty much has a full-time job munching on seagrass, but he still always finds time to hang out with his friends and family. I know he’d love to take time off from his important “job” and spend time with you too!
Want more FREE sea creature amigurumi patterns? Check out my most popular pattern to date, Jonah the Whale Shark! Also check out Coral the Rainbow Fish if you’re looking for another pattern that uses plush yarn!
You can purchase a printable, ad-free, beautifully formatted, concise version of this manatee crochet pattern in my shop HERE. Otherwise, please keep scrolling down for the free version!
Disclaimer: Some links in this free plush manatee amigurumi pattern may be affiliate links. Affiliate links are a way for me to make a small commission on certain products at no extra cost to you!
Materials You Need
- #6 super bulky yarn. I used Parfait Chunky by Premier Yarns in the color “Fog”. You’ll need 50 grams of gray.
- A small amount of black worsted-weight yarn for the nostrils.
- I (5.5 mm) crochet hook
- 12 mm black safety eyes
- Fiberfill (or your stuffing of choice)
- Bent tip tapestry needle
- Scissors
- Stitch marker
- Straight pins
Abbreviation Key
Abbreviations are in U.S. terms.
- sc – single crochet
- st/sts – stitch(es)
- sl st – slip stitch
- dec – decrease (join the next 2 stitches together)
- inc – increase (2 single crochet in the next stitch)
- R1 – round 1
- rep – repeat
- ** – repeat the group of instructions between the asterisks the number of times indicated.
Note: All rounds are worked continuously (that is, vs. joined rounds.)
The finished size is approximately 8 in. (20 cm) long from tail to snout. (Please be aware that your personal gauge, tension, hook size, and the brand of yarn you decide to use will all impact the finished size.)
The pattern and images in this document are the sole property of Storyland Amis. This written pattern is for personal use only. Please do not share, sell, or redistribute it in whole or part.
You MAY sell the finished product, but please credit Storyland Amis as the designer. If you sell your finished items online, I would appreciate it if you could link them to my blog! You may not mass-produce items made from this pattern. Thank you for your understanding and respect.
Important Additional Info
Starting round: When starting my crochet pieces in the round, I always use the “ch 2 method.” That is perfectly fine if you prefer to start your pieces using the magic circle/ring instead. These two methods are interchangeable, and the end result will be the same regardless of your choice. Watch this short video to learn how to make the “ch 2 method”.
Right vs. wrong side: When working in the round, I always crochet with the “right” side of the stitches facing out. Watch my short video to see the difference between the “right” and “wrong” side of crochet stitches.
Yarn under vs. yarn over: I always yarn under (YU) instead of yarn over (YO) for all my amigurumi. Doing YO might make your amigurumi slightly larger than mine, so keep that in mind if you prefer YO. Watch my video on the differences between yarn under and yarn over.
Sewing pieces together: I sew all my pieces together using the whipstitch unless otherwise specified.
Stuffing: Check out my short video on how to stuff pieces properly here.
Color changes: Insert hook into last st of round or section with old color, yarn over & pull hook through st. Take your new color of yarn, yarn over & pull hook through remaining 2 loops on hook. Now you’re ready to start the new round or section. Check out my video on color changes here.
Note on Sewing With Plush Yarn
Sewing with certain brands of plush yarn can be tricky, as it will often shed and split while you are sewing. To avoid this issue, I like to use worsted-weight yarn in the same color as the plush yarn to sew with. For this pattern, I sewed all of the pieces together using the original plush yarn tails left on each piece. If you know the yarn you are using has a tendency to shed and split, however, I would recommend you do this for all sewing in this pattern. Plush yarn hides the worsted-weight yarn remarkably well, so it won’t be noticeable if you decide to go this route.
Free Plush Manatee Amigurumi Pattern
Head and Body (Using Gray Yarn)
(We are starting at the snout/head)
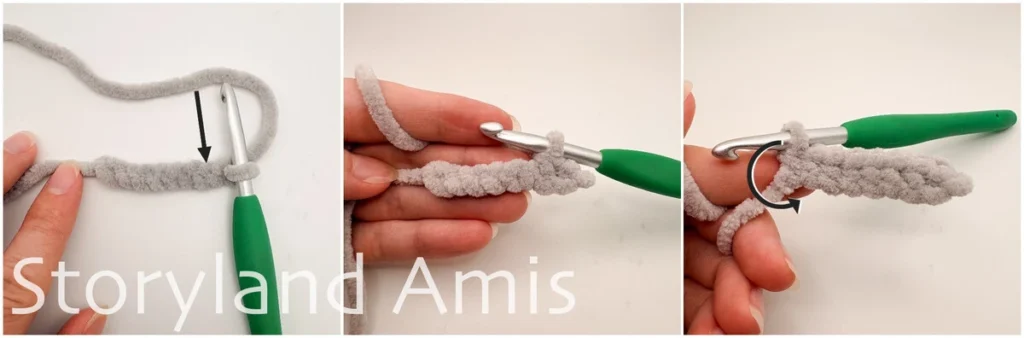
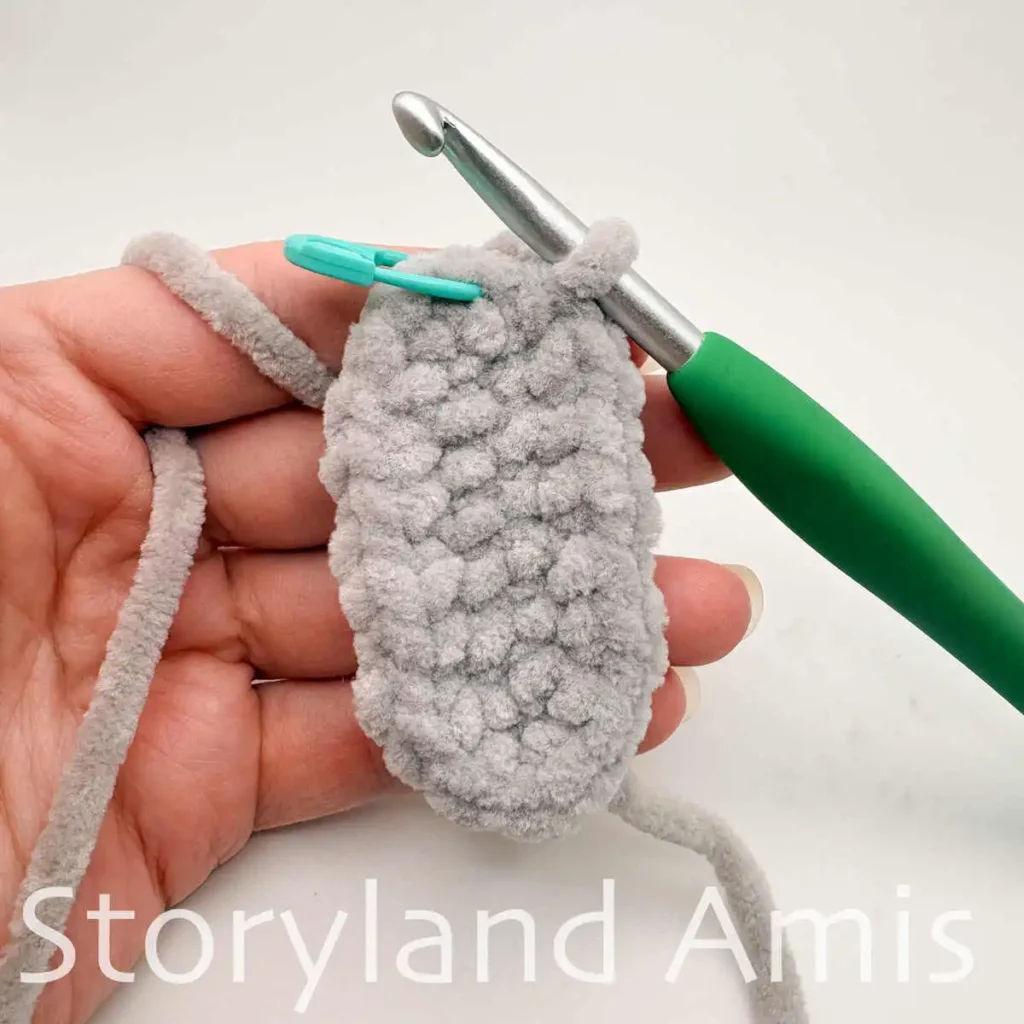
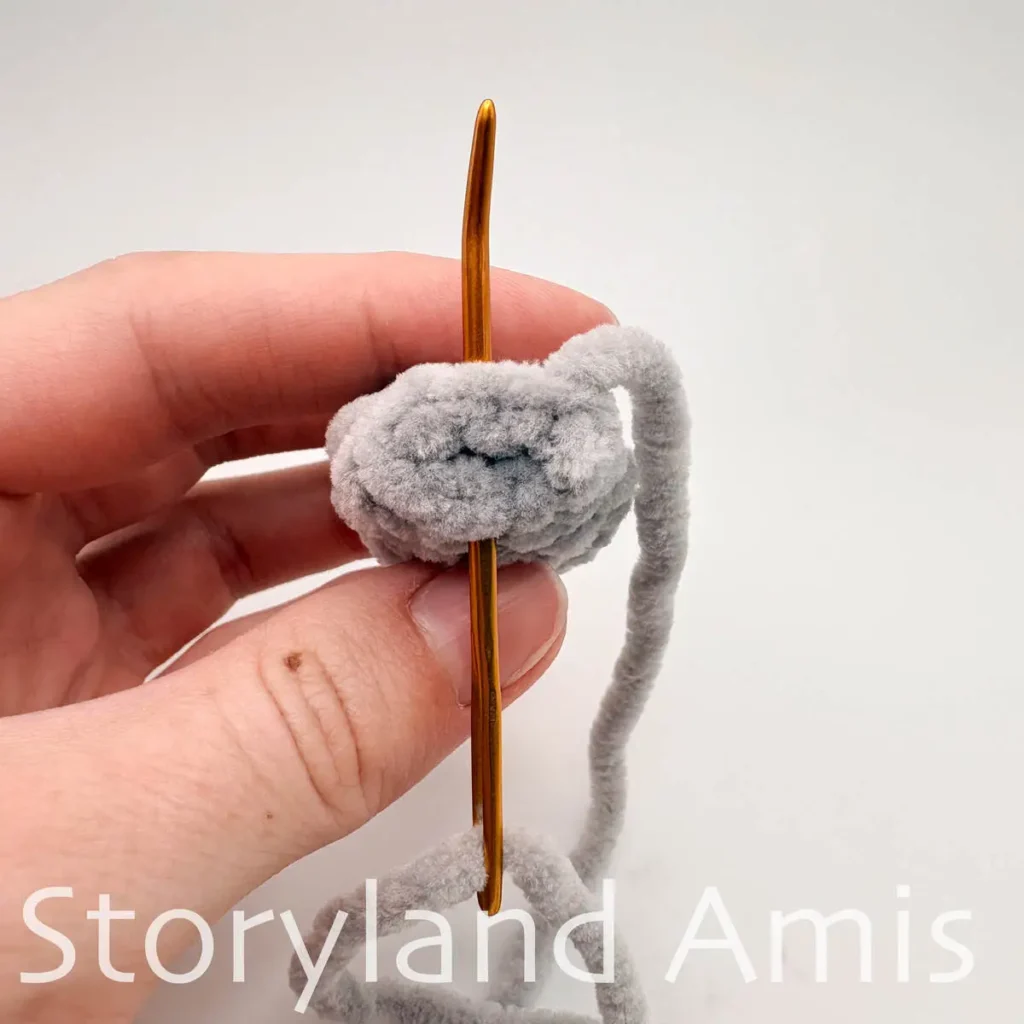
R1: ch 9, starting in 2nd ch from hook, sc 8, now rotate your work 180 degrees and work into the other side of the ch, starting in the first ch, sc 8 (16 sts)
(See pics. #1 & #2). This is called starting your work with a foundation chain and is a great way to start a piece you want to be more oval than round. After crocheting through the top loops of the chain, you turn your work upside down so that the sts you just crocheted are at the bottom and the front/bottom loops of the chain are now at the top. These are the sts you will now work into. Once you’re at the end of the row, the first round is complete! Now you just continue as you normally would working in the round. Watch this video to learn how to crochet into a foundation chain.
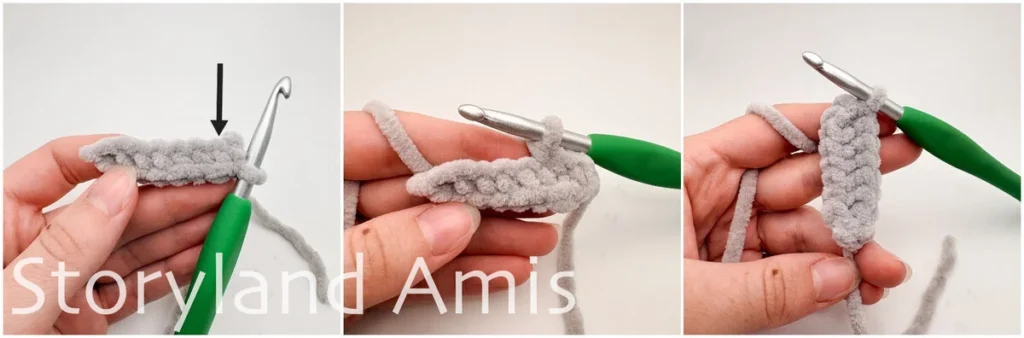
R2: *inc, sc 1* rep 8 times (24 sts) (see pic. #3)
R3: *sc 3, inc* rep 6 times (30 sts)
R4-5: sc in all 30 sts (30 sts)
R6: *sc 3, dec* rep 6 times (24 sts)
R7: *sc 3, inc* rep 6 times (30 sts)
R8: sc 5, *inc* rep 6 times, sc 19 (36 sts)
R9: sc in all 36 sts (36 sts) (see pic. #4)
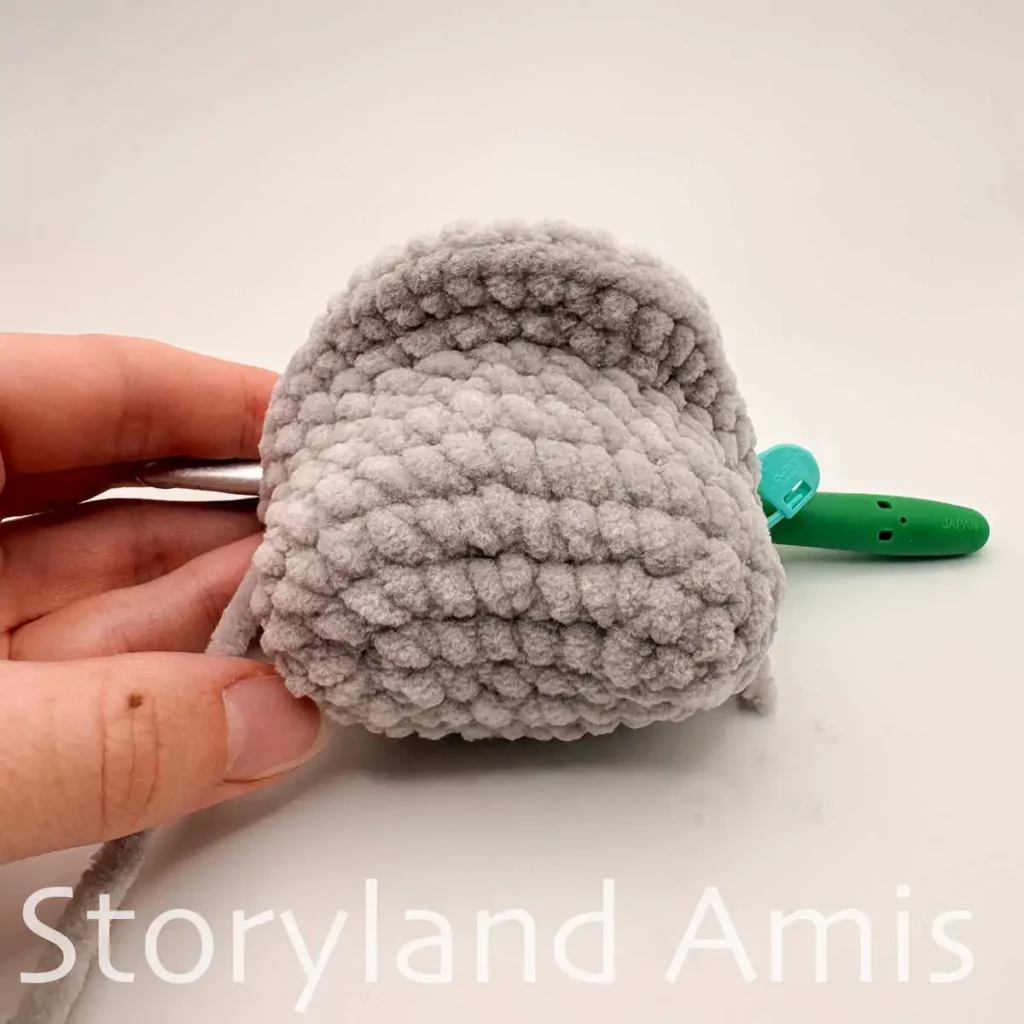
R10: sc 6, *sc 1, inc* rep 6 times, sc 18 (42 sts)
R11: sc 6, *sc 1, dec* rep 6 times, sc 18 (36 sts) (see pic. #5)
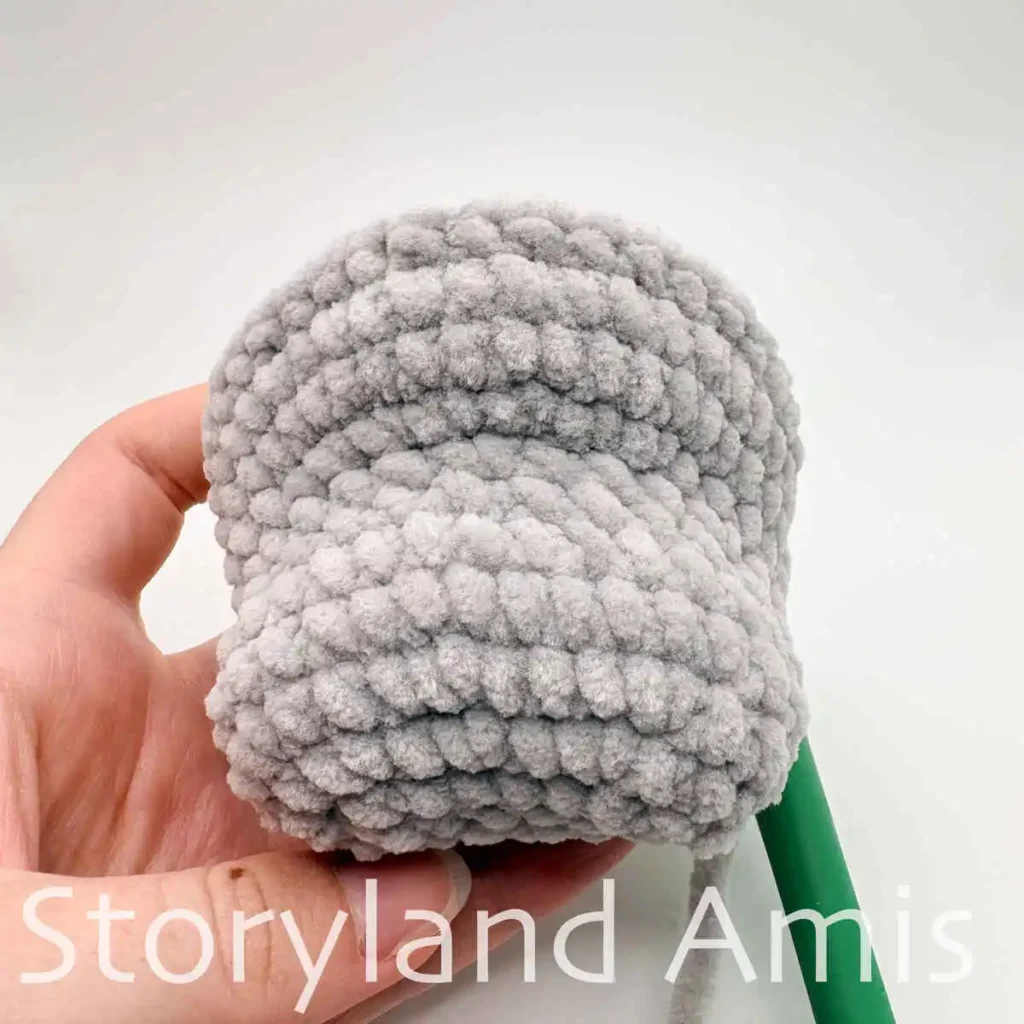
R12: *sc 5, inc* rep 6 times (42 sts)
R13-19: sc in all 42 sts (7 rounds total at 42 sts each)
Adding the Face
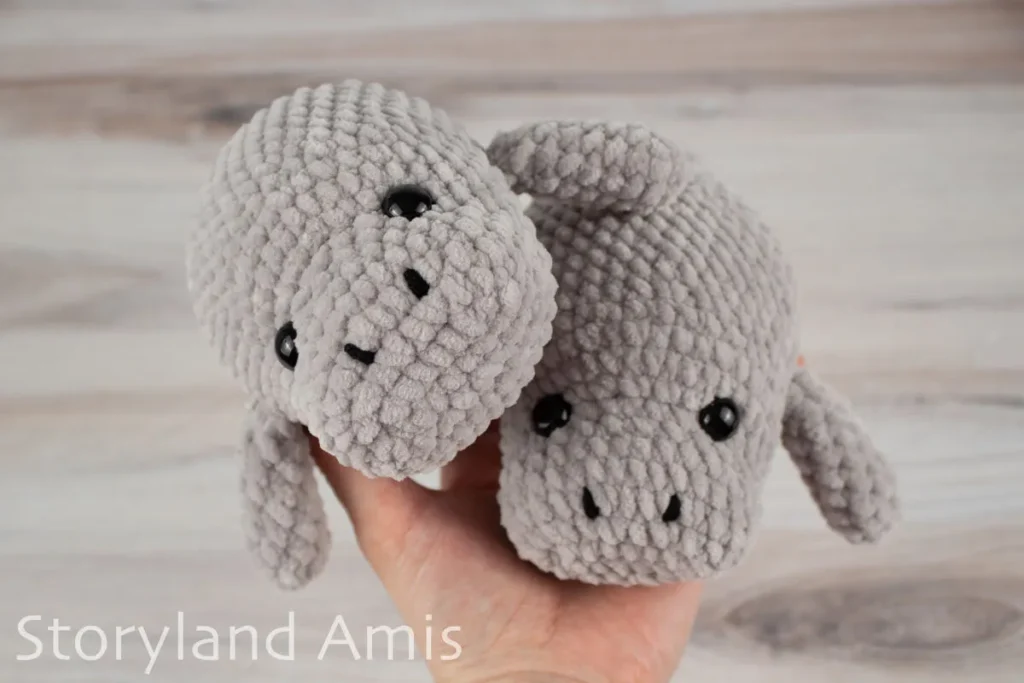
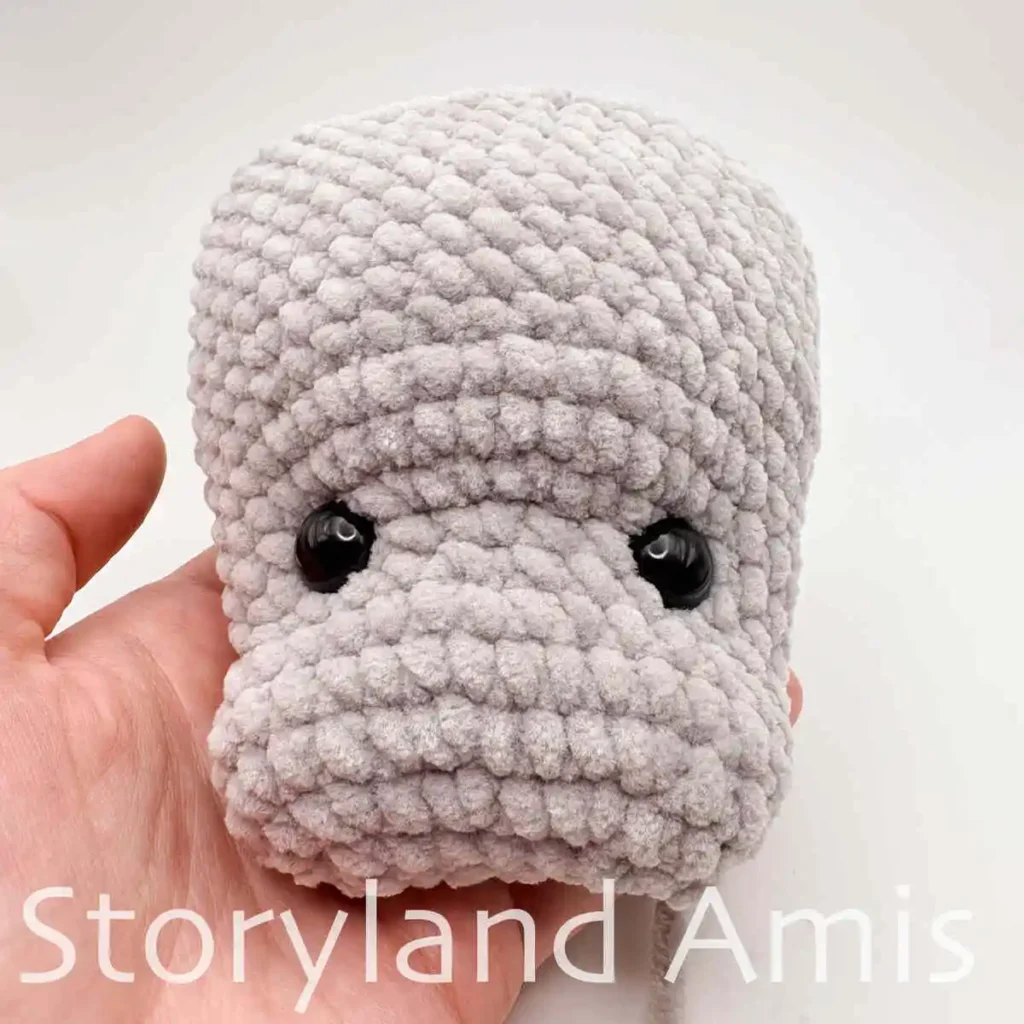
Insert your 12 mm eyes between R7 and R8 of the head, spaced 7 sts apart (Hint: Insert the 1st eye. Count 7 sts from the hole where you inserted the 1st eye and insert the 2nd eye. The inc sts count as one stitch, not two, in this case. There should be 5 visible sts between the two eyes once they have been inserted. See pic. #6).
Using black worsted-weight yarn, embroider two straight-stitch nostrils over R3 of the body. The nostrils should be spaced about 4 sc sts apart (see pic. #7).
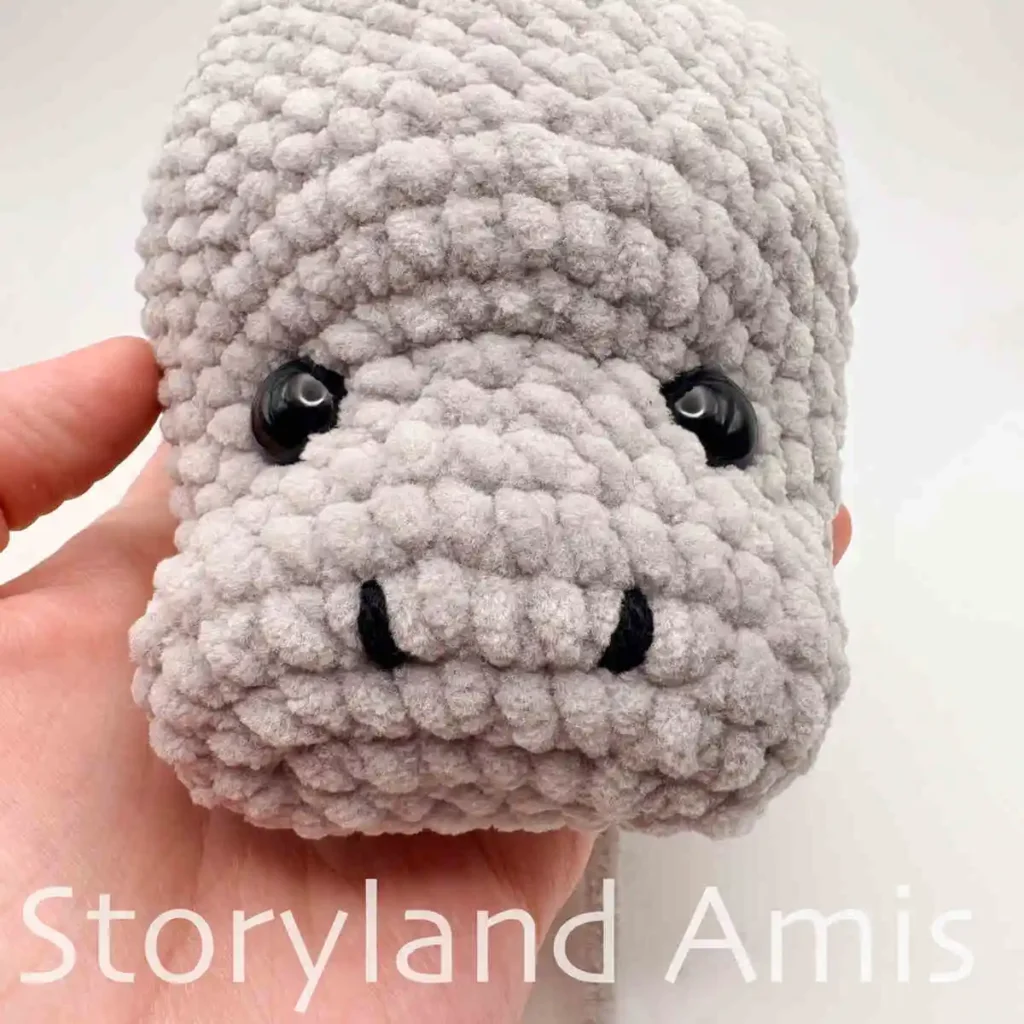
You can start stuffing your manatee now and continue to stuff until you reach R29.
R20: *sc 5, dec* rep 6 times (36 sts)
R21-22: sc in all 36 sts (2 rounds total at 36 sts each)
R23: sc 4, *sc 1, dec* rep 6 times, sc 14 (30 sts)
R24-25: sc in all 30 sts (2 rounds total at 30 sts each)
R26: sc 2, *sc 1, dec* rep 6 times, sc 10 (24 sts)
R27: sc in all 24 sts (24 sts)
R28: sc 3, *dec* rep 6 times, sc 9 (18 sts)
R29: sc in all 18 sts (18 sts) (see pics. #8 and #9)
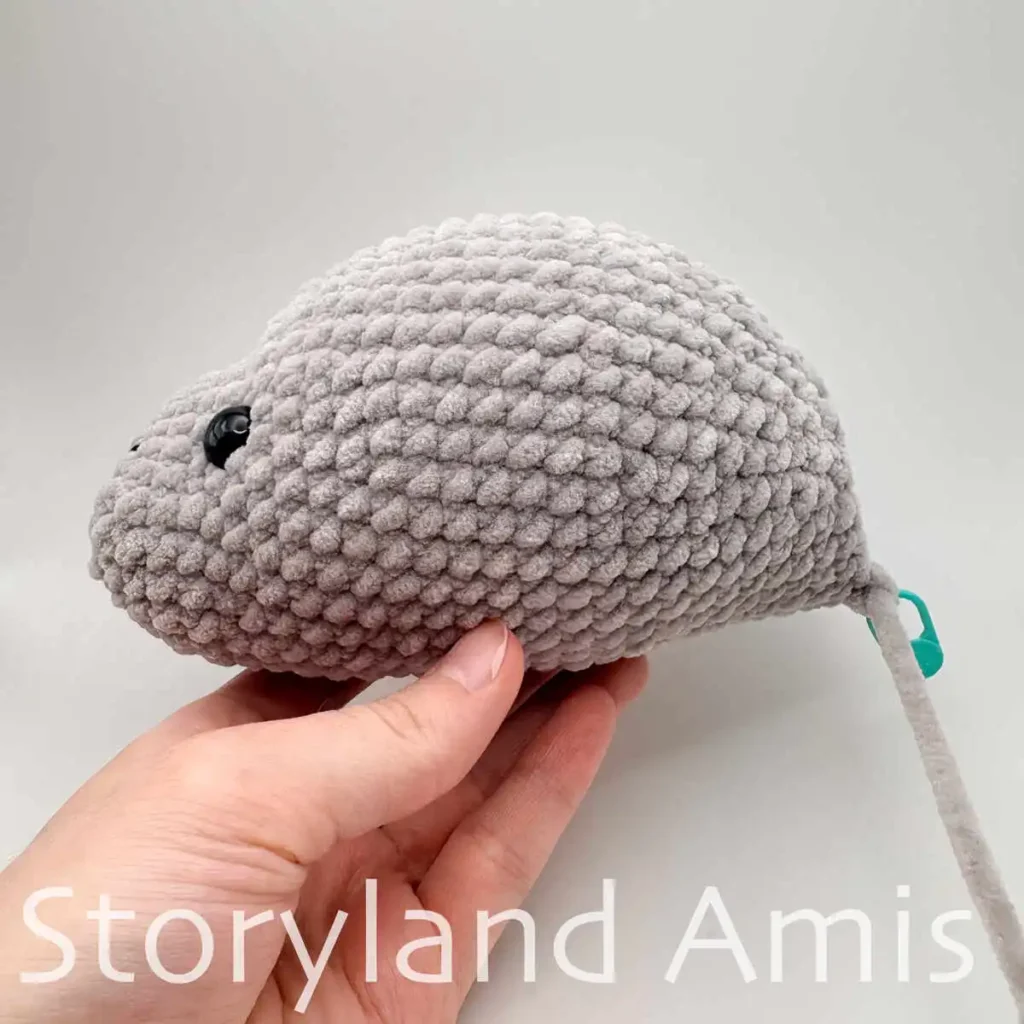
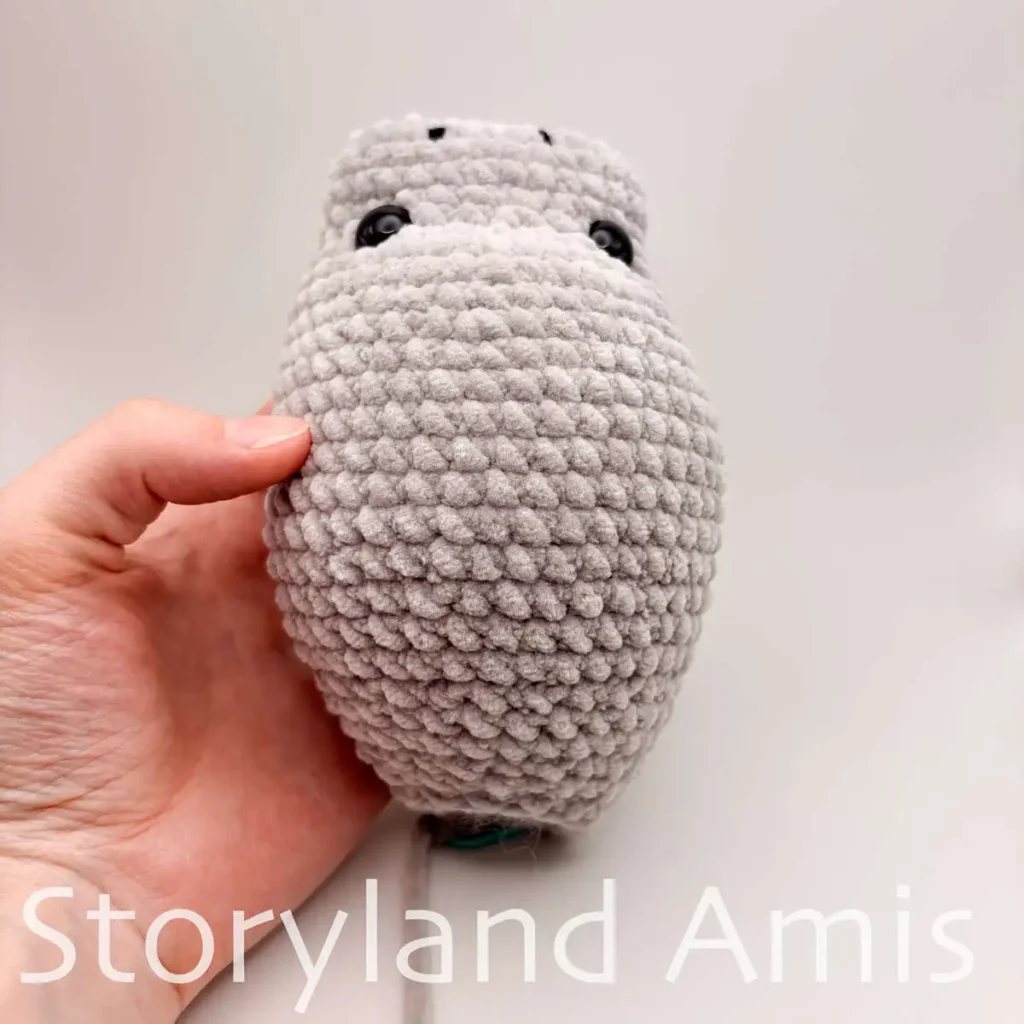
Finish stuffing the body and head now. Leave the tail of the manatee unstuffed.
R30: sc 12, *inc* rep 6 times (24 sts)
R31: *dec* rep 6 times, sc 12 (18 sts)
R32-33: sc in all 18 sts (2 rounds total at 18 sts each)
R34: *sc 5, inc* rep 3 times (21 sts)
R35: *sc 5, dec* rep 3 times (18 sts)
R36: *sc 1, dec* rep 6 times (12 sts)
R37: *dec* rep 6 times (6 sts)
Finish off (see pic. #10) and neatly sew the hole closed using your tapestry needle by weaving your needle and yarn through the front loops of the last round and pulling it closed. Watch this video to learn how to neatly sew a hole closed.
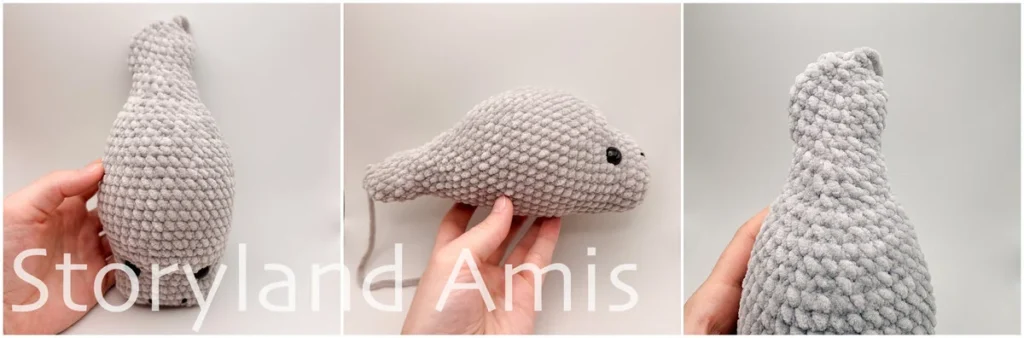
Flippers (Make 2 Using Gray Yarn)
R1: ch 2, starting in the 2nd ch from hook, sc 6 (6 sts) (you can use the magic circle if you prefer, as it won’t make a difference in the end. In that case, you will make a magic circle and make 6 sc in the magic circle. Watch this video to see how to start crocheting in the round using the “ch 2 method”.)
R2: *sc 1, inc* rep 3 times (9 sts)
R3-8: sc in all 9 sts (6 rounds total at 9 sts each)
R9: *sc 1, dec* rep 3 times (6 sts)
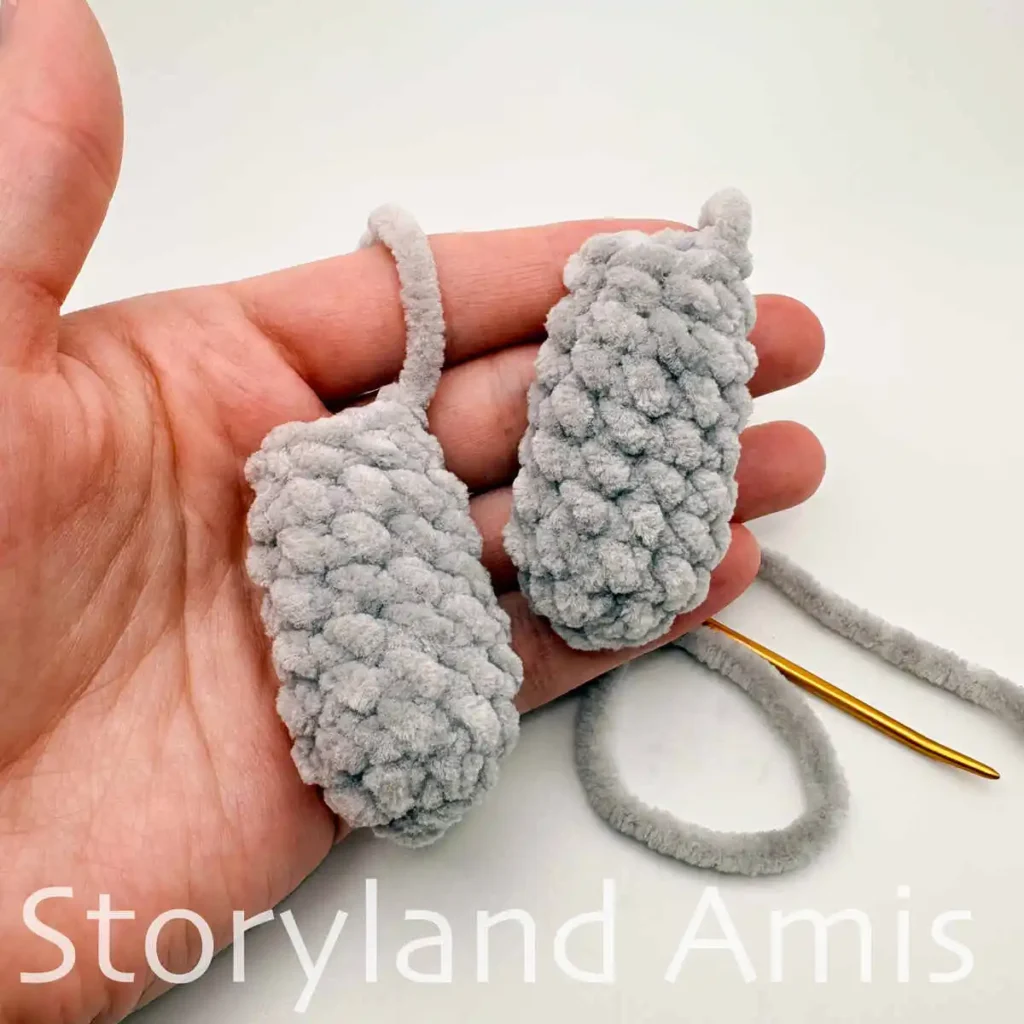
Finish off and leave a long tail for sewing (see pic. #11). Do not stuff. Instead, flatten the piece, and then sew the open end closed using the whipstitch to create a flat edge for sewing (see pic. #12). Watch this video to learn how to sew the open ends closed to create a flat edge.
Sewing the Flippers to the Body
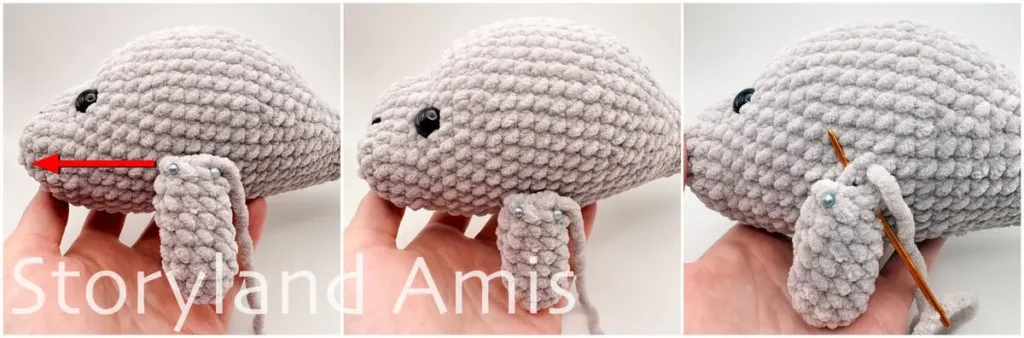
Position the flippers over R13-R16 on either side of the body. The flat edge of the flippers should be lined up with the starting round of the head (see first image in pic. #13). Pin them into place using straight pins to keep them in place while you sew them on (see first two images in pic. #13). Now, take your tapestry needle and sew the flippers to the sides of the body using the whipstitch (see last image in pic. #13).
When you are finished, make a knot to secure the sewing and weave the remaining tails into the body (see pics. #14, #15, and #16).
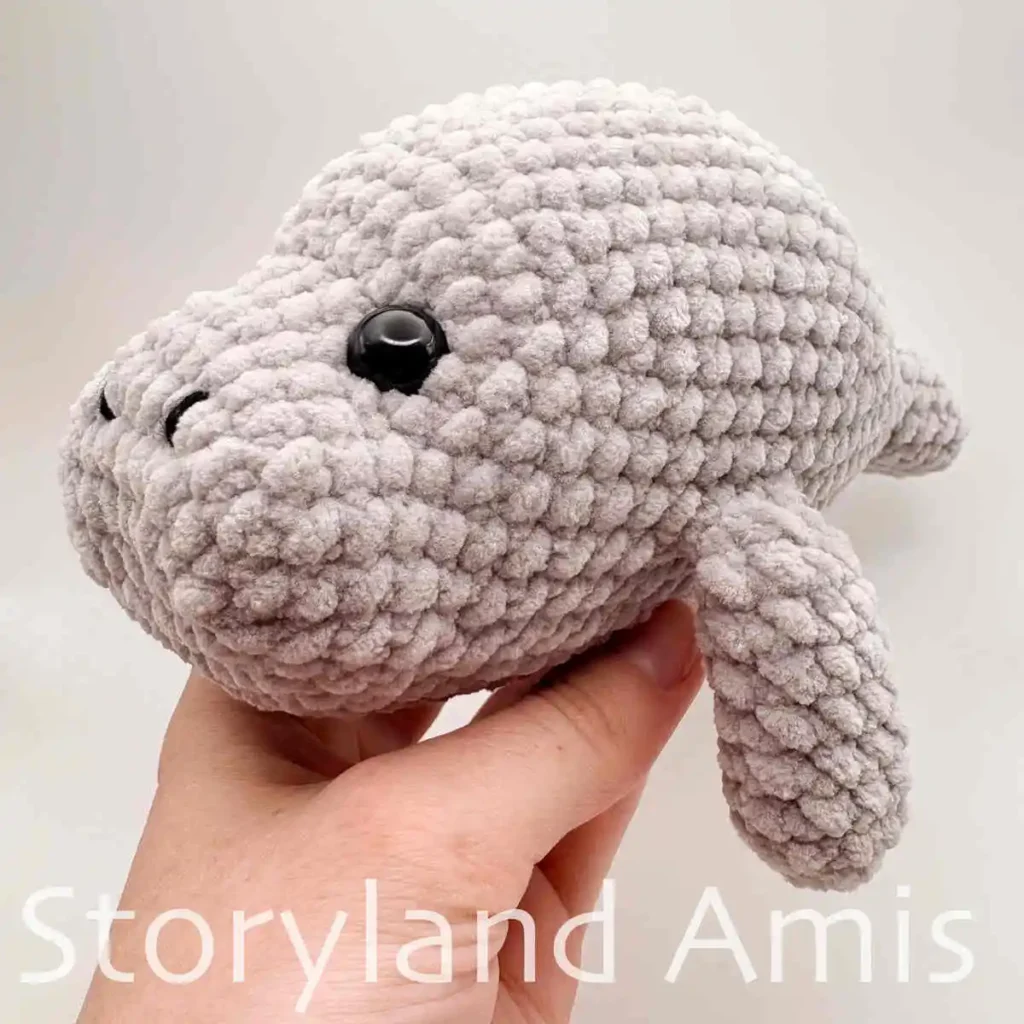
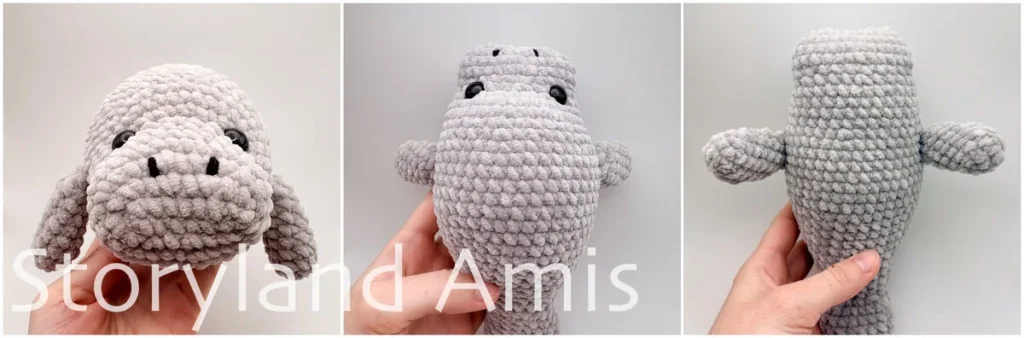
Congratulations—you’re done! I hope you enjoyed making this free plush manatee amigurumi pattern. I would love to see pictures of your finished project!
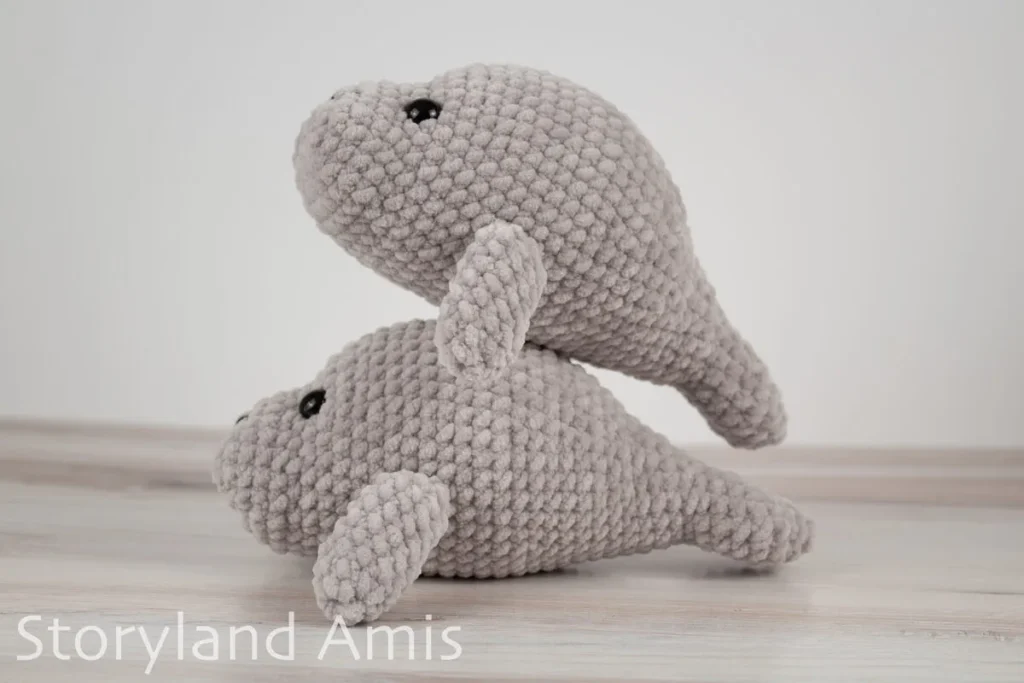
Please feel free to leave a comment down below with any questions or comments you have about this pattern. I always try to respond personally to all comments!
If you make this free plush manatee amigurumi pattern, share your creations with me via social media or email me directly! You can find me on Instagram (@storyland_amis) and Facebook (Storyland Amis).
Thanks for stopping by! Until next time, then – stay crafty!
Get 24 patterns in this exclusive bundle!
For less than $15, you can get every Christmas pattern I’ve ever designed! Plus FREE access to any future Christmas designs for life.

I hope you enjoy this manatee pattern as much as I enjoyed designing it! Please let me know if you have any questions, and feel free to share photos of your cute plush manatee!